The hardest part of having locs as a beginner is not the maintenance. It is standing in front of the mirror, running late, and having absolutely no idea what to do with your hair.
You have probably searched for loc updo tutorials online. And you have probably clicked away from most of them because they assume you already know how to cornrow, flat twist, or create intricate braided patterns. You do not have those skills yet. And most tutorials do not acknowledge that.
This guide is different. Every style here requires no professional skill, no cornrowing, and no loctician.
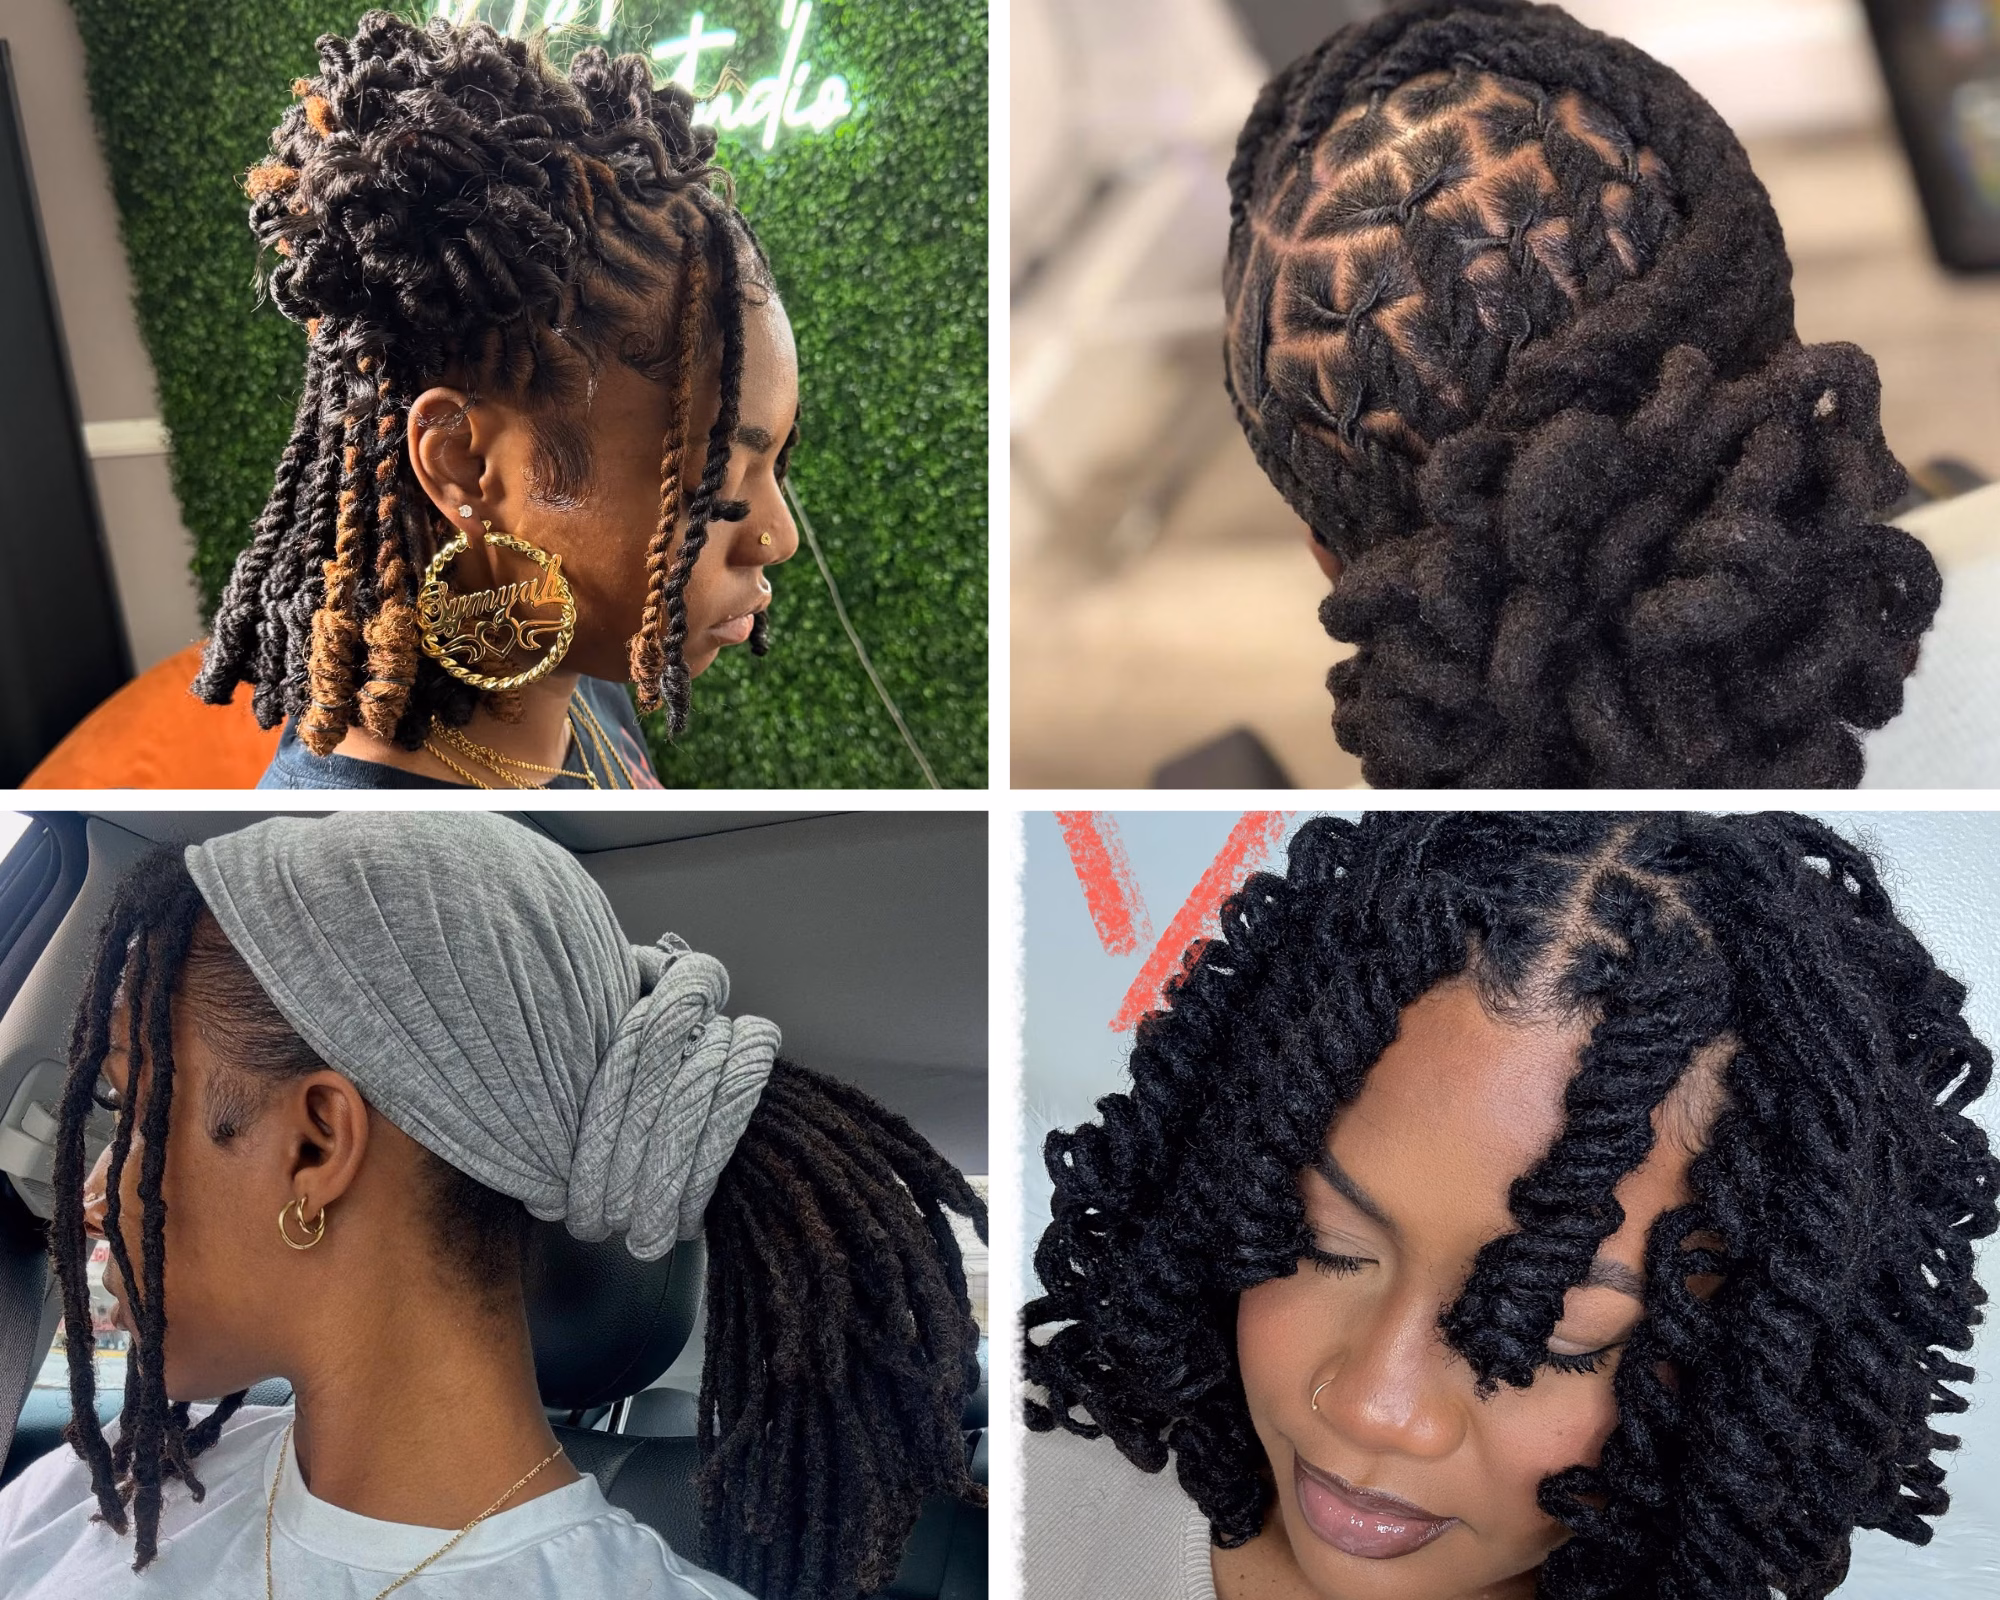
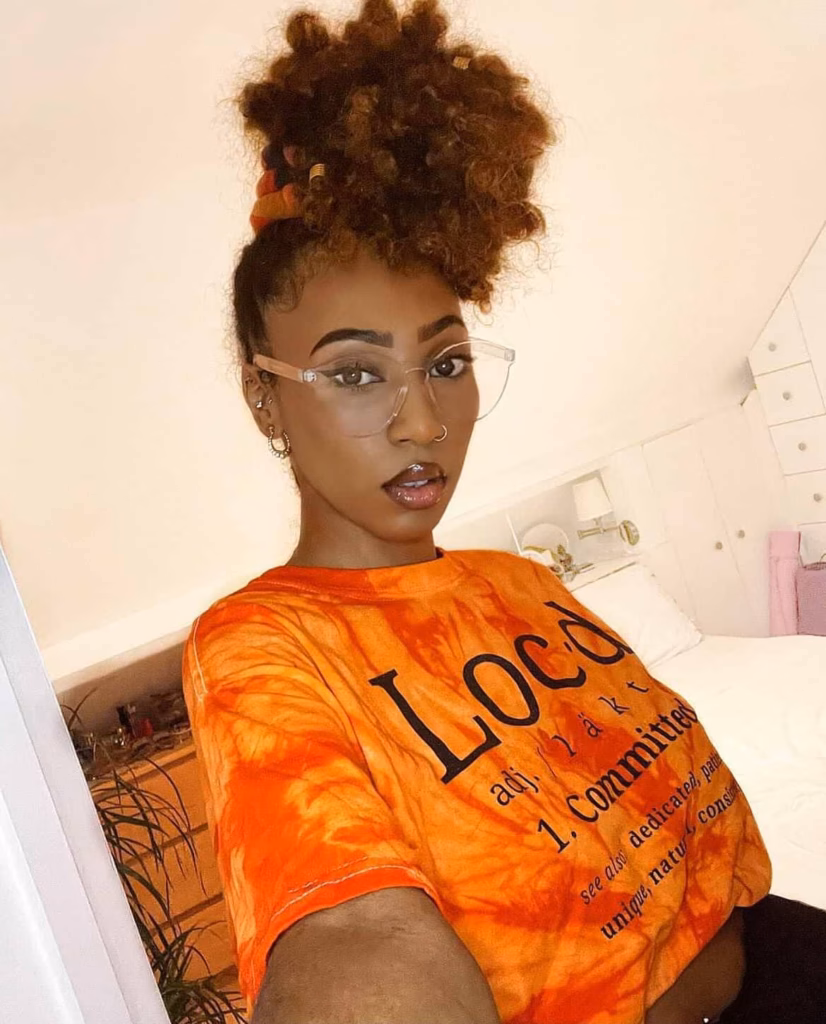
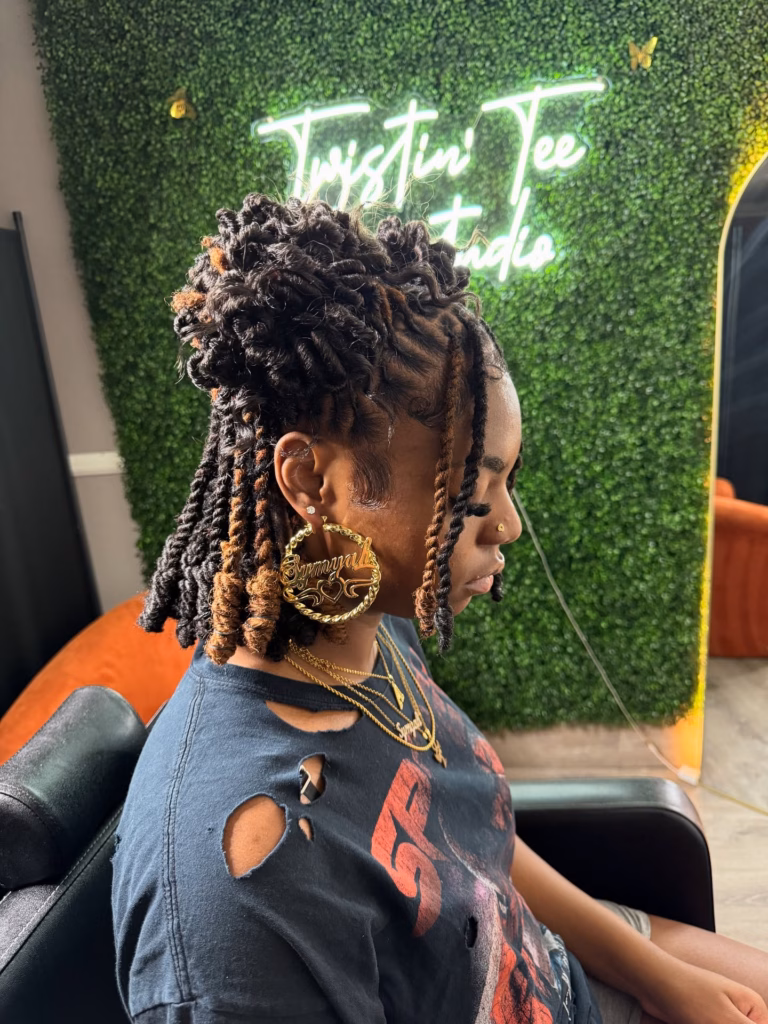
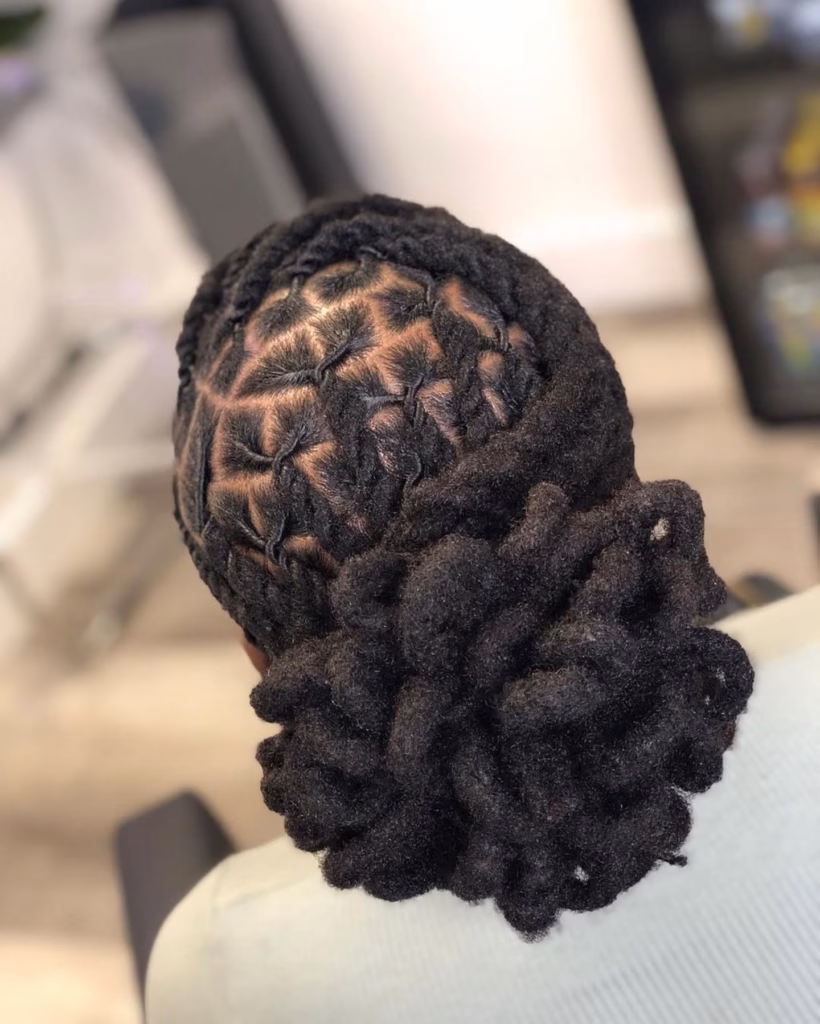
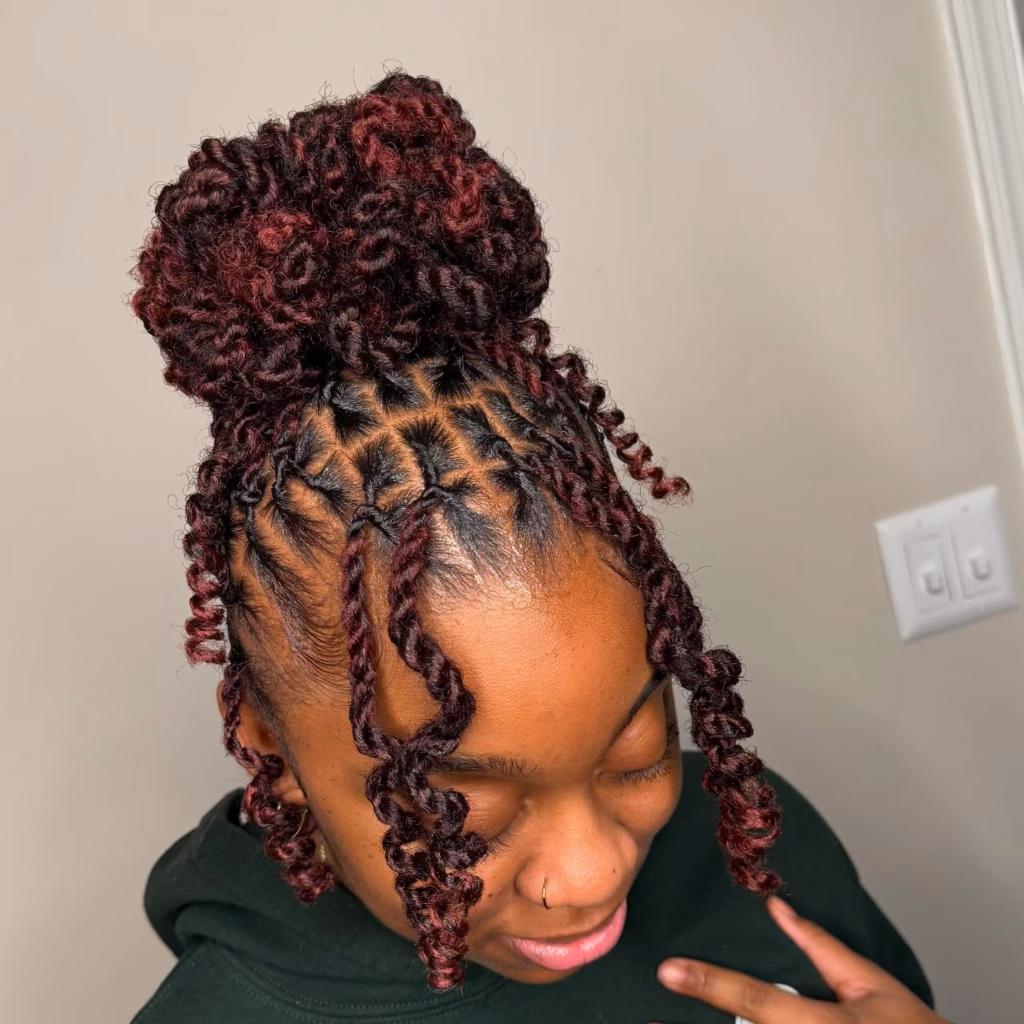
Source @slayedbyiman
The blogger behind My Locks Journey, who describes herself as “hair challenged” and says she cannot even do cornrows, built two of the most popular beginner loc updo tutorials around exactly this idea: that simple tools and a few clear steps are all you need.
By the end of this guide, you will have six specific easy loc updo styles you can do at home right now. You will know what tools to have ready, which styles work at what loc lengths, and one health note that every beginner needs to hear before styling regularly.
What to Have Ready Before You Start Any Loc Updo
Before any of the six styles, there are a few things worth having ready. The list is short. Nothing on it is expensive.
Here is what you need:
- Heavy-duty jumbo bobby pins (not mini ones — mini pins slide straight out of locs)
- 1 to 2 spiral hair ties (also called coil ties — tension-free, designed for thick hair)
- A rat-tail comb for sectioning when needed
- A lightweight water-based mist spray or plain rose water
- 1 to 2 flexi rods (optional — needed only for Style 5)
- Loc cuffs or decorative clips (optional — for finishing any style in 10 seconds)
Which styles work at which length:
- Simple puff or bun: 3 inches or more
- Half-up half-down: 3 to 4 inches for the top section
- Side-swept and pinned: any length from 3 inches
- Twisted front with low bun: 4 to 5 inches for the front roll to hold
- Flexi rod updo: 4 inches or more to grip the rod
- Headwrap or scarf: any length at all
Having the tools is one part. The other is a 30-second step most people skip that makes every style easier.
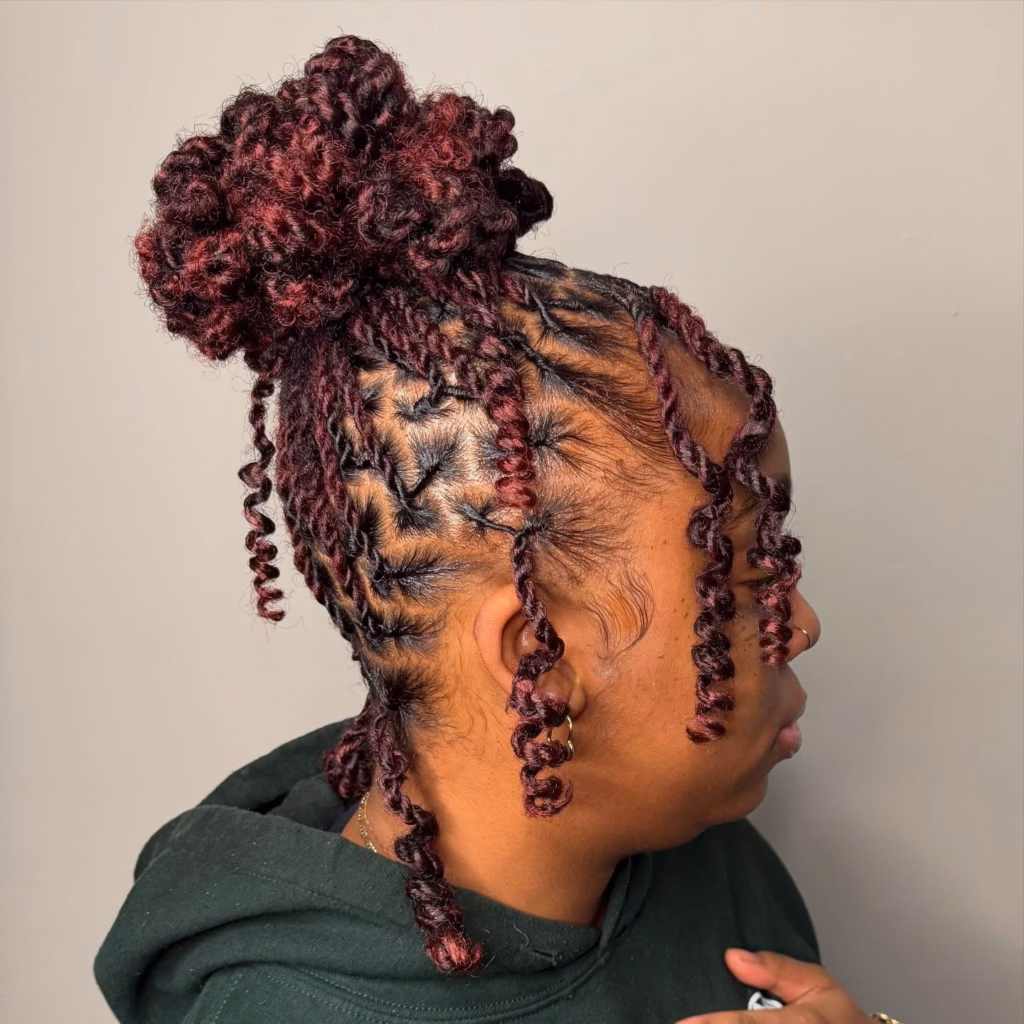
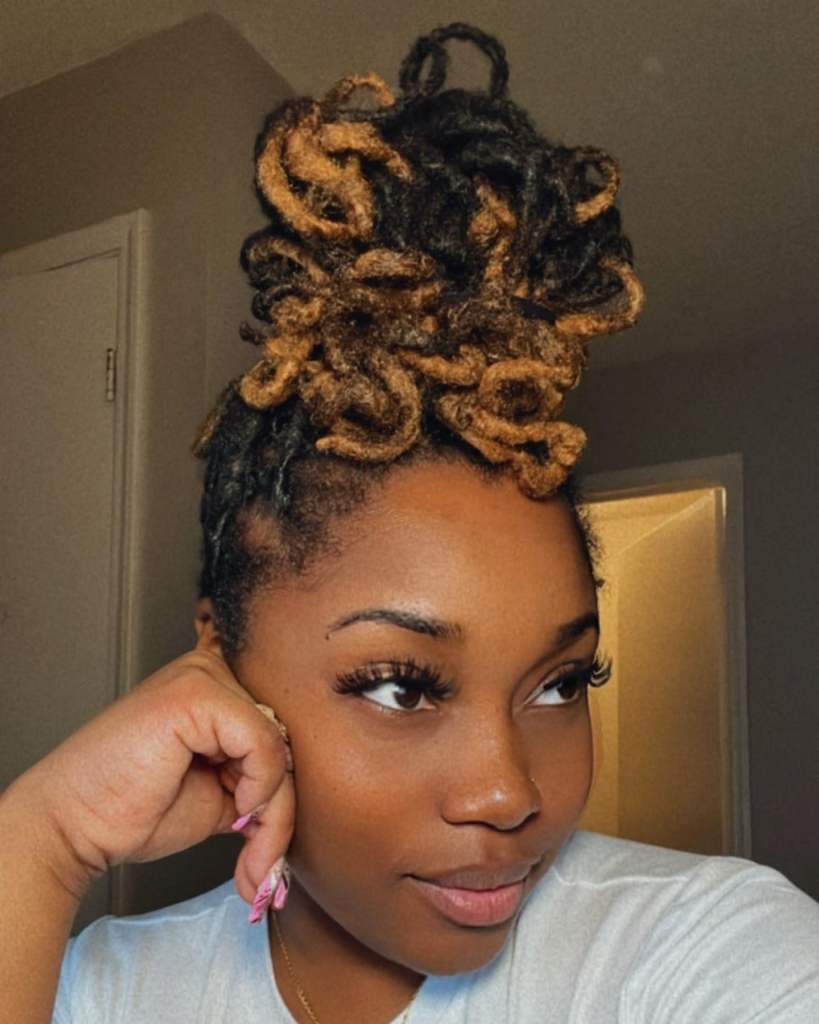
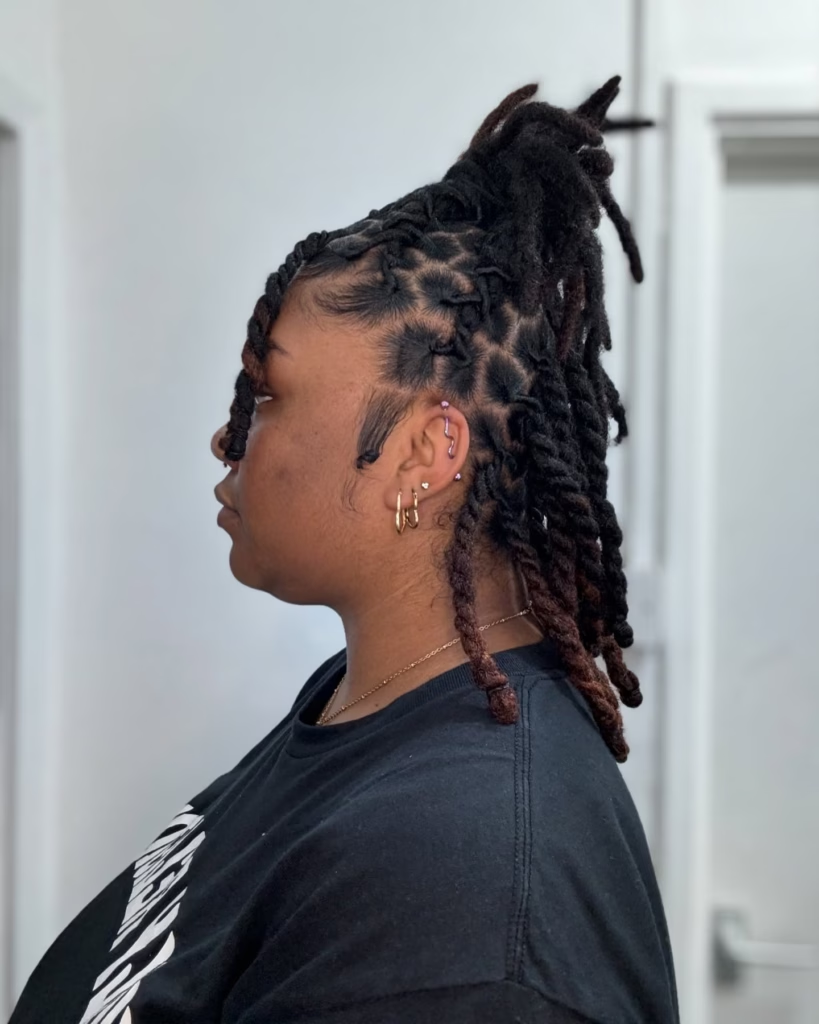
Source @kendrakenshay
Lightly mist your locs with water or a water-based spray before you start. Hair that is slightly damp is more cooperative and holds shapes better. The Hairobics All Natural loc maintenance guide (March 2026) confirms that hydrated locs are more flexible and elastic, making them much less likely to resist styling or snap while you work with them.
What NOT to use before styling:
- Heavy waxes or thick oils applied right before you pin or tie anything. Twist and Go Salon’s loc care guide (March 2026) explains that thick creams and waxes create buildup inside locs that is very difficult to remove and weakens the hair shaft over time. Buildup also makes loc surfaces slippery, which causes pins and ties to fail faster.
One more thing: do not style on freshly washed locs that are still damp. Wait until they have fully dried. Wet locs are heavier and more fragile than dry ones. According to loctician Amara, cited in hims.com’s loc maintenance guide (May 2025), styling on wet locs can stretch and weaken the roots.
Style 1: The Simple Loc Puff or Bun (Under 3 Minutes, Any Length)
Skill level: None
This is the first style every loc wearer learns. It is also the style most people keep coming back to for the rest of their loc life. There is a reason for that.
Boho Locs put it simply: “Top buns are easy to wear and easy to style, which is what makes them so convenient.” And they are right. This style works from 3 inches of loc length and scales up no matter how long your locs grow.
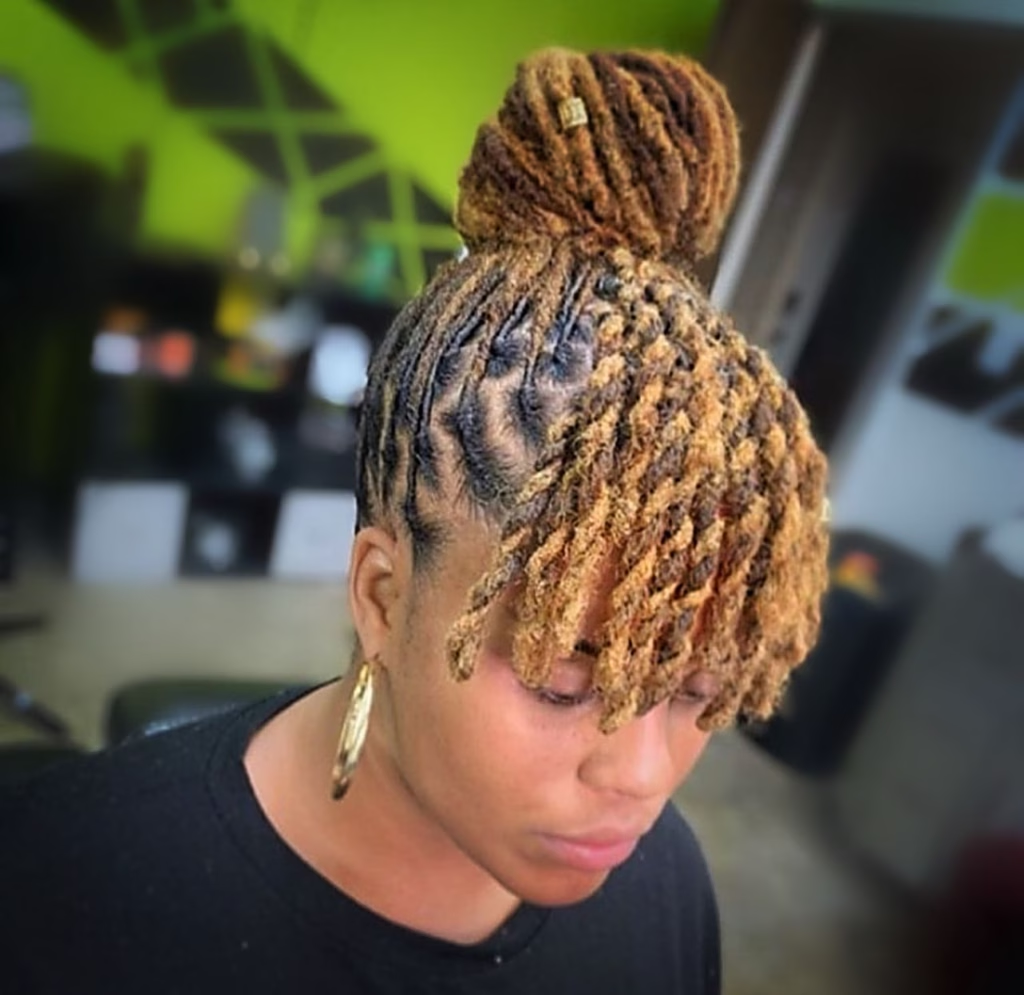
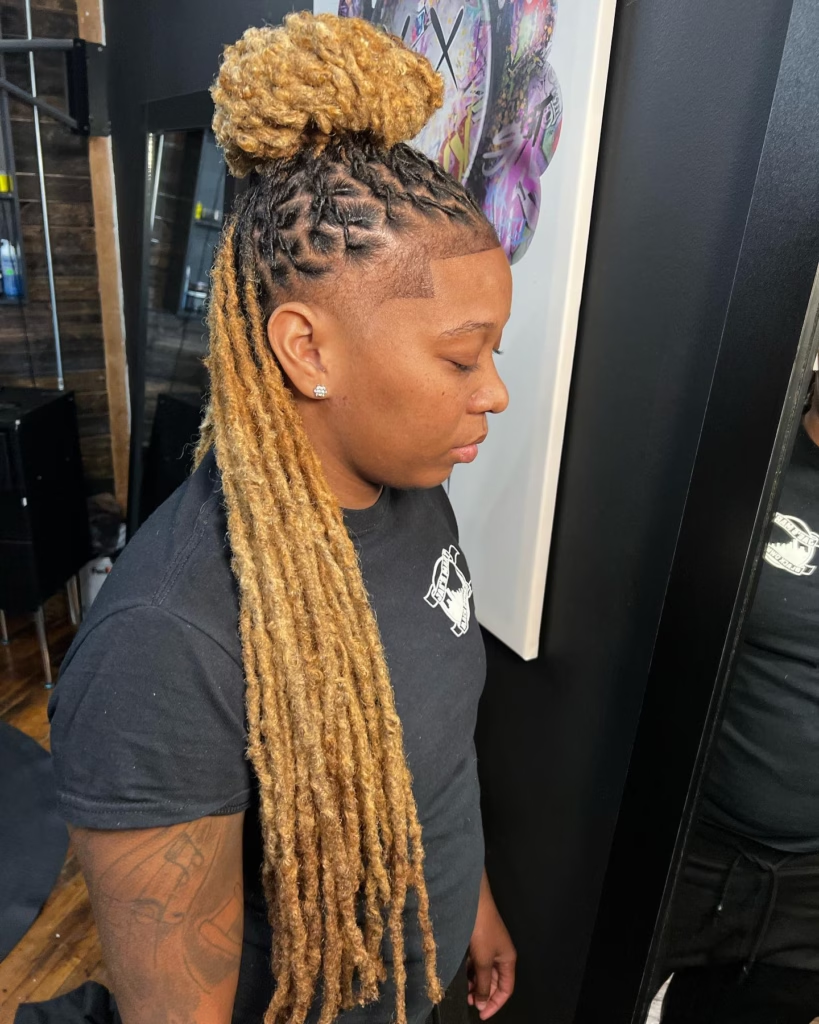
Source @kendrakenshay
Three versions based on your length:
- Short locs (3 to 4 inches): small puff at the crown, secured with a spiral tie, edges laid flat
- Medium locs (shoulder to chest): classic high or low bun using the two-section fold method
- Longer locs: messy bun with one or two face-framing locs pulled loose at the front
Here is how to do it:
- Lightly mist the locs with your water spray
- Gather all locs with one hand at the crown or nape
- Loop the spiral tie once around the bundle loosely
- Fold the locs through the loop rather than wrapping around again
- Pull 1 or 2 front locs loose near your face
- Done
That last step matters more than it sounds. The blogger behind My Locks Journey writes that pulling one or two locs loose at the front transforms a basic bun into something that looks finished and intentional rather than rushed.
After you secure the bun, leave it alone. The more you adjust a loc bun, the faster it loosens. One good secure holds better than five small adjustments.
If the puff feels too plain, slide one loc cuff onto a front loc before tying. That is all it takes to go from basic to finished.
Style 2: The Half-Up Half-Down Loc Style (Under 5 Minutes)
Skill level: Minimal
Once the basic puff feels easy, this is the next style to learn. It takes about two minutes longer and looks significantly more intentional.
The half-up half-down works especially well for beginners because the bottom half requires zero technique. The back locs just hang loose. The only skill needed is gathering the top section correctly. Boho Locs confirms this is “a great option for anyone, especially those working with starter locs” because it takes weight off the shoulders and neck while still showing off your natural texture.
The sectioning step — the only step that actually matters: Use the pointed tip of your rat-tail comb to draw a horizontal line from one temple to the other across the crown. Everything in front of that line goes up. Everything behind it stays down. Do not grab too many locs. If you pull too much into the top section, the result looks like a full updo rather than a half-up.
Here is how to do it:
- Mist locs lightly
- Use the rat-tail comb to draw the temple-to-temple line
- Gather all locs in front of that line into one hand
- Secure with one spiral tie (loop once, fold through, do not wrap tightly)
- Let the back section hang naturally
- Fan the back locs out slightly with your fingers for more volume
Three variations that need no extra skill:
- Basic top puff: gather and secure the top section with a spiral tie as described above
- Side part version: create a side part before sectioning, then sweep the front locs slightly to one side before securing
- Bantu knot version: twist the top section into one or two self-anchoring Bantu knots and leave the back section completely loose
One thing to watch: the top section should feel secure but comfortable at the temples. Any pulling or soreness means the section is too tight. JW Salon Styles’ loc maintenance guide (March 2026) confirms that styles pulling too hard at the roots create risk of traction alopecia over time.
The TikTok loc community posts this style more than almost any other. It is what most loc wearers reach for on the days between retwist appointments when they still want to look put-together.
Style 3: The Side-Swept Pinned Look (Under 3 Minutes, 2 Clips)
Skill level: None
This is the easiest style on the full list. No sectioning. No ties. Two clips and about thirty seconds.
Gather all your locs with one hand and sweep them to one side. Secure them at the nape or just below the ear with one decorative clip or loc cuff. Let the rest of the locs fall freely over your shoulder.
That is the entire style.
The Lemon8 loc community (October 2025) confirms this look appears consistently as a go-to style across all loc lengths and stages. The blogger behind My Locks Journey uses this as the fallback for days when she describes herself as “hair challenged” — meaning days when she has no time or patience for anything more.
If you want it to look more deliberate, one step changes everything: Run your rat-tail comb from the hairline to the crown to create a defined side part before sweeping. StyleHairCo’s December 2025 side part loc guide confirms a side part adds immediate visual dimension to any swept style without any extra product or tools. That one 60-second step turns a sweep-and-go into something that looks considered.
This style works at every loc length, including the shortest starter locs. Three inches is enough to sweep and clip.
Before you call it done, slide one loc cuff onto a front loc near your face. It takes 10 seconds. It makes the style look considerably more finished.
Style 4: The Twisted Front with Low Bun (Under 7 Minutes)
Skill level: Minimal
This one looks like it took skill. It did not. The only technique involved is a backward roll, and that is not a technique so much as a direction.
Here is what the finished style looks like: the front section of locs, from the hairline to the crown, is rolled backward and pressed flat against the scalp, then pinned in place. The remaining locs are gathered into a simple low bun at the nape. That is it.
This is the style the blogger behind My Locks Journey designed specifically for “Simple Loc Updo for Dummies #2” — built for people who cannot cornrow and created with only basic bobby pins.
The backward roll — the only technique you need to know: This is not a braid. It is not a flat twist. You do not need to section your hair in any pattern. You simply roll the front locs backward, toward the middle of the head, press them flat as you go, and pin them where they end. The My Locks Journey guide is clear: “Roll the front section backwards, so that the roll can lie flat against your head.”
Here is how to do it step by step:
- Mist locs lightly
- Gather the back section and put it into a simple low bun at the nape, secured with a spiral tie
- Separate the front section from temple to temple
- Roll the front section backward toward the crown
- Press the roll flat against the scalp as you go
- Secure with 2 to 3 bobby pins in crossed X-patterns where the roll ends
- Adjust and pin any stray ends
The X-pattern with the pins matters. Crossing two pins in opposite directions holds the roll in place much more securely than single straight pins. The My Locks Journey blogger also confirms you can use extra bobby pins to frame and shape the roll ends however you want.
For a little extra texture in the bun, wrap a few locs around a flexi rod before securing the low bun. Leave the rod in for two hours. When you remove it, the bun has soft, defined ends that make the whole style look finished and deliberate.
Style 5: The Flexi Rod Loc Updo (Under 10 Minutes, Maximum Visual Impact)
Source @ohthatsteeee
Skill level: Minimal
A flexi rod is a soft foam rod that bends. You wrap locs around it, fold the ends over to hold them in place, and leave it for a few hours. The result is a soft curl or roll. No heat. No styling skill.
The blogger behind My Locks Journey used flexi rods as the basis of her “Simple Loc Updo for Dummies” tutorial specifically because she needed a tool that did the work of pinning without requiring technique. Her instructions are direct: “Use the end of the flexi rod to hold the ends of your locks in place. Be sure to bend the top as well.”
On its own, wrapping locs around flexi rods gives you curls. But used on just the front or top section of locs while the rest stays in a low bun, it becomes a pinned updo with visual texture that looks far more complex than it is.
Here is how to do it:
- Mist the front or top section of locs lightly
- Secure the back locs into a simple low bun at the nape
- Wrap the front section of locs around the flexi rod, rolling inward toward the middle of the head
- Fold the ends of the rod over to hold everything in place
- Bend the top of the rod as well to lock the ends
- Leave in for 2 to 4 hours or overnight
- Remove the rod carefully and adjust the roll shape with your fingers
One rule that applies to every flexi rod style: always roll inward, toward the middle of the head, not away from it. Rolling inward creates a roll that lies flat against the scalp and stays clean rather than puffing outward.
The Lemon8 loc community in 2025 described flexi rod sets as “a staple hairstyle in 2025, especially between retwists.” This style gives maximum visual impact with minimal skill involved.
This is the longest style on this list. It takes 8 to 10 minutes. Try it on a Saturday morning when you have a little more time. The result looks like significantly more effort than it actually was.
Style 6: Locs Loose with a Headwrap or Scarf (Under 2 Minutes, Zero Skill)
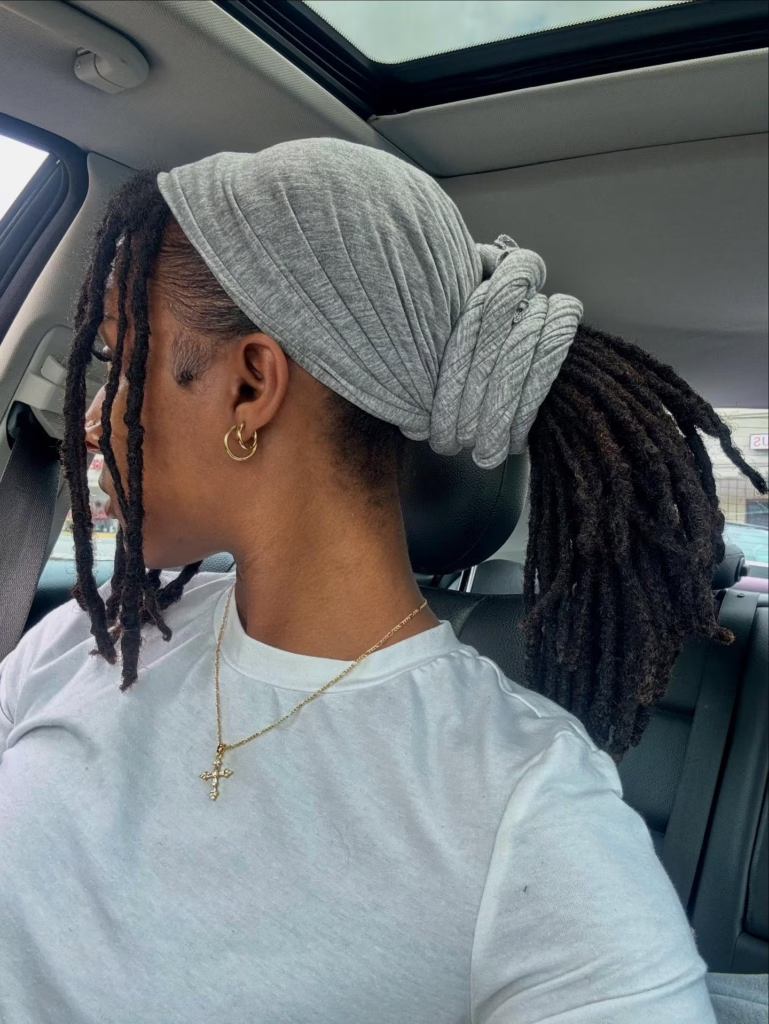
Skill level: None
Some days, two minutes is the budget. This is the style for those days.
Long locs worn completely loose can look unfinished if nothing anchors the front of the hair. One headwrap or scarf changes that immediately. Without the scarf, loose locs look like you have not styled them. With the scarf, the same locs look intentional and put-together.
Two versions:
The headwrap: tie a silk or satin scarf at the front of your head with the knot on top. Fold the ends in or let them trail. Takes 90 seconds.
The headband: push a thin fabric or chain headband back just behind the hairline. This creates a clean, defined frame at the front and makes loose locs look anchored and deliberate.
Both versions are confirmed by the TikTok #locsupdostyles community and Lemon8 loc community as the go-to “no-effort” style for beginners and experienced loc wearers alike.
Source @faith.locs
The double-use bonus: If you slept with a satin scarf already on your locs the night before, you may not need to remove it at all. Wrap the ends differently, tuck them in or let them trail, and you are already done. Zero extra steps. Zero extra time.
Of all six styles on this list, this is the safest one for your hairline. No tension. No pulling. No pins gripping roots. Banner Health’s traction alopecia guide confirms that leaving hair loose is the most effective way to prevent tension-related hair loss.
Use this style on day two or day three between retwists, on mornings when you have under five minutes, or any time your edges need a rest. locs updos for beginners easy
What Every Beginner Needs to Know Before Styling Locs Regularly
Styling your locs is not separate from caring for your locs. The two things happen at the same time. And there is one thing every beginner needs to know before committing to a regular updo routine.
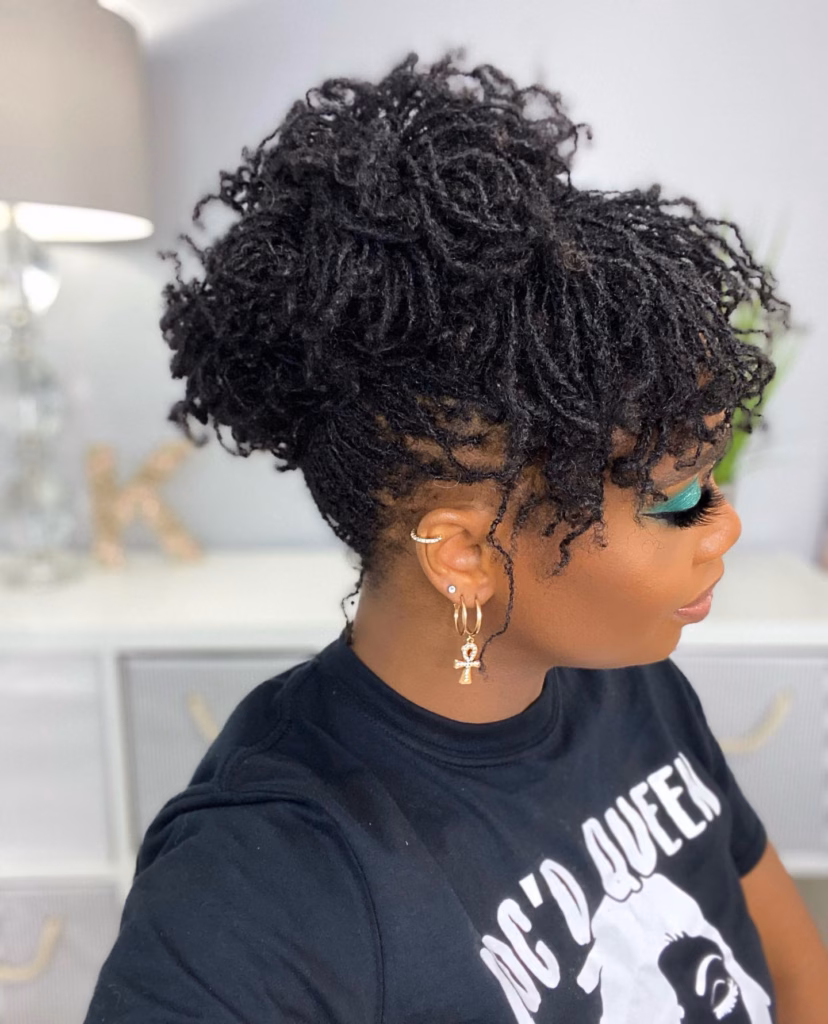
Source @lyricslocd
Beginner locs are more at risk from tight styles than mature locs. Enamslocs.com’s loc hair loss guide (September 2024) confirms this directly: starter locs can be more prone to causing tension if not installed correctly. The roots of early-stage locs are still forming. They have not fully hardened into their final structure. Tight tension at this stage can cause thinning at the root or even loss of an individual loc.
Traction alopecia is a documented condition — and locs are specifically named. Dr. Trevor Thompson, MD, a dermatologist at Banner Health, explains that traction alopecia is hair loss caused by prolonged or repeated tension on the follicles. Locs, ponytails, and buns are all listed as contributing hairstyles. Hair loss from traction alopecia appears along the front hairline and temples. Early-stage traction alopecia is reversible. Chronic, long-term cases are not.
The comfort rule: If the style hurts, it is too tight. Afrocenchix’s loc care guide notes that as locs get heavier, updo styles put more tension on the hair, and delicate edges can be at risk especially when styles are too tight. Any soreness at the temples or scalp is a signal to loosen the tie or pin immediately.
Warning signs to watch for:
- Soreness at the temples or hairline that does not go away when the style comes down
- Small bumps along the front hairline
- Thinning or shorter hair at the temples compared to the rest of the head
- Redness or sensitivity at the hairline
Rotate your styles. JW Salon Styles’ loc maintenance guide (March 2026) confirms that rotating styles and avoiding the same position every day gives locs a break and prevents concentrated tension from building up in one area.
Loose is always better, especially at the beginning. Hairobics All Natural’s ultimate loc maintenance guide (March 2026) lists loc buns and updos as genuinely protective styles that guard hair from environmental damage. But the same guide specifically identifies tight styles as harmful. Loose, low-tension versions of every style on this list are the right approach for beginner locs.
You do not need to avoid updos. You just need to wear them loosely and give your hair rest days between styles. Beginner locs are still forming. The more gently you treat them now, the stronger and thicker they will be in a year.
You Have Six Styles Ready to Try
Six styles. None of them require cornrows. None of them require a loctician. All of them can be done at home with bobby pins, a spiral tie, and a rat-tail comb.
The simple puff or bun takes under three minutes and works from 3 inches of loc length.
The half-up half-down requires only correct sectioning. The side-swept look needs two clips and thirty seconds. The twisted front with low bun uses a backward roll that anyone can do.
The flexi rod updo takes 10 minutes and looks like it took much longer. And the headwrap takes 90 seconds and puts zero tension on your hairline.
Start with one this week. The puff or the side-swept look. Once those feel comfortable and automatic, move to the twisted front with low bun. Give each style a full week of practice before adding the next one to your rotation.
Loc updos for beginners do not have to be complicated. The six styles in this guide require nothing beyond basic tools and a few steps you can learn in one sitting. Start simple. Build from there.