
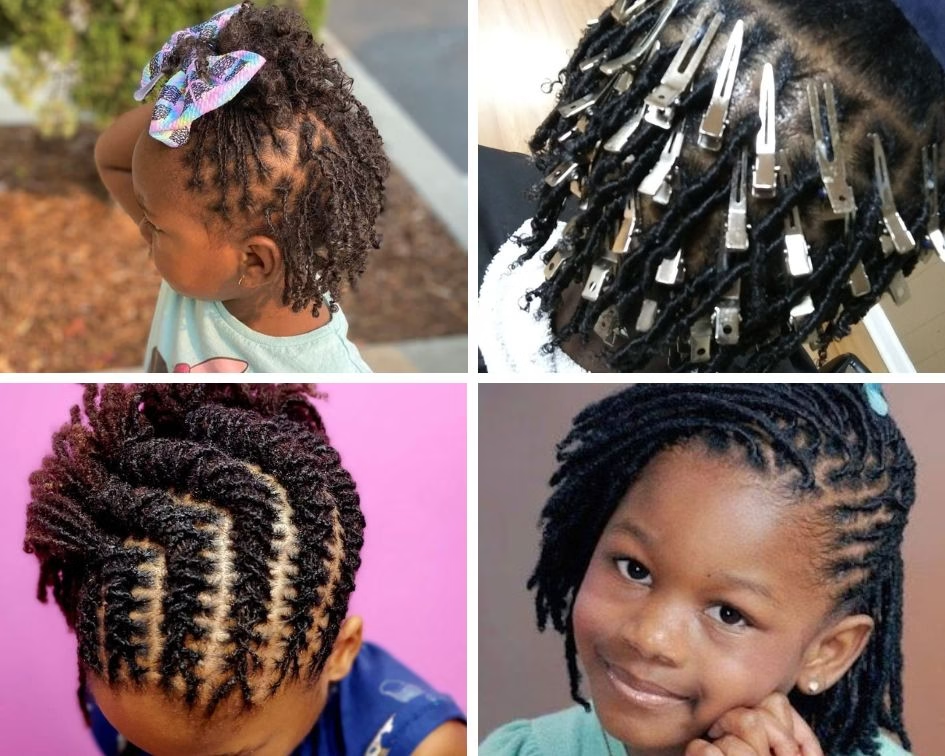
Nobody warns you that your child’s first locs will look nothing like the pretty photos online. They start small, plain, and a little messy, and that is completely normal for every child.
Locs grow through stages, and each stage brings new looks, new habits, and new questions. As a loc technician, I have walked many parents through these stages, month by month.
The parents who stay calm are usually the ones who know what is coming next. Before you begin, read 6 mistakes parents make when starting their child’s locs so you can avoid them.
This guide walks you through the first week, the first year, and the years after. I will explain what your child’s locs will look like and how they will feel.
I will also share the care steps that keep every single stage safe and healthy. Every child’s hair grows at its own speed, so treat these timelines as friendly guides.
Keep your eyes on the health of the scalp and the locs, not the calendar. So let us begin with why a timeline helps, and then move through each stage.
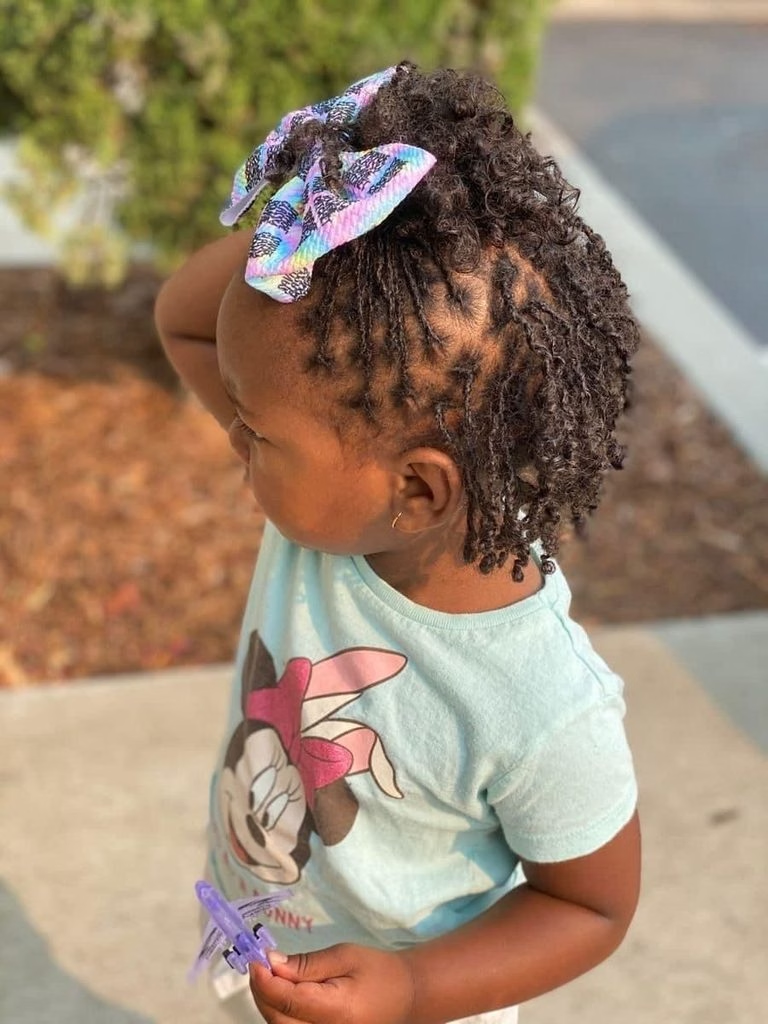
What to Expect When Your Child Starts Locs: A Timeline for Parents
Why a Timeline Helps Parents Feel Prepared
Have you ever worried that something was wrong with your child’s locs when they looked different? Most of the time, nothing was wrong, and the locs were simply moving into a new stage.
A timeline helps you spot normal changes, so you do not panic or quit too early. Locs go through frizz, shrinkage, swelling, and loose phases before they finally settle down for good.
Knowing this ahead of time takes away most of the stress and a lot of the fear. Having a clear picture of each stage turns worry into curiosity, and curiosity keeps everyone calm.
A timeline also helps your child, because children feel safer when they know what is next. Share the stages in simple words, and let your child ask any question that comes up.
To see how pretty locs can look at every length, browse 18 cute locs styles for fresh ideas. Then use this guide to learn the care that goes along with each of those looks.
Write the start date on your calendar, because it makes tracking progress much easier later. Take a photo every month from the front, the back, and both sides of the head.
Those photos will show you progress that is hard to notice from day to day.
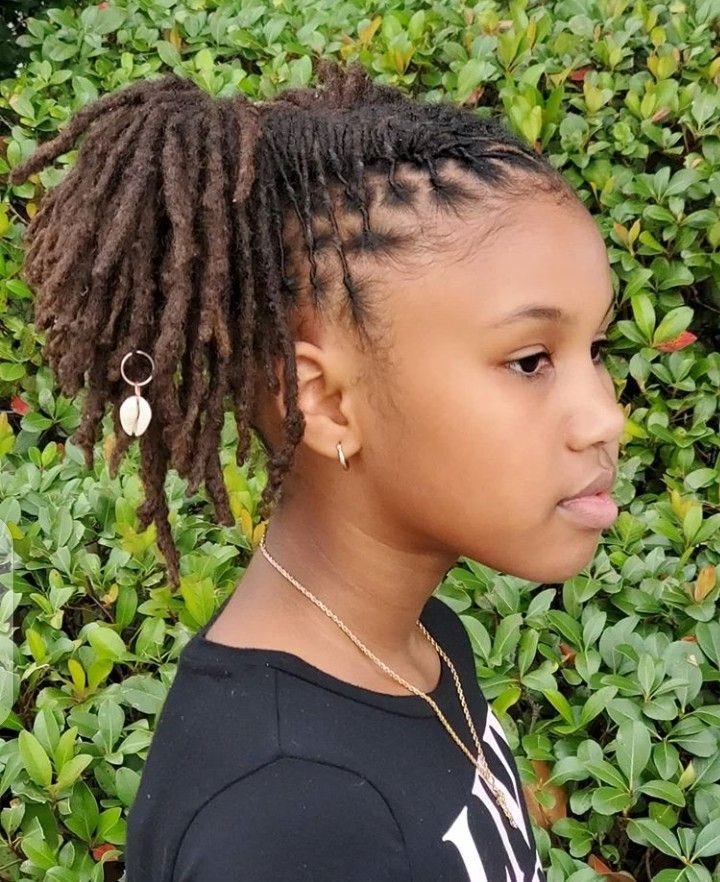
Before You Start: Getting Ready as a Parent
The best loc journeys begin with a good plan, a calm mind, and the right support. First, talk with your child about why they want locs and what they might expect.
Make sure your child understands that locs take real patience and plenty of time to grow. Locs are a long commitment, and taking them out later can be hard and slow.
Find a trusted loc technician, and ask to see photos of children’s locs they have started. A good technician will explain the method, the cost, and the care plan clearly and kindly.
Ask your technician about aftercare rules, product lists, and how many visits you should plan for. Check your child’s scalp first, and treat any dryness, flakes, or irritation before you start.
Pick a start date that is calm, with no big events or exams right around the corner. Gather a satin scarf, a gentle shampoo, a light spray, and a soft hair tie.
Save this for later: 12 professional styles to try is a handy guide for your own locs. Children copy what they see, so a parent who cares for their own hair sets a good example.
Take a deep breath, because you are about to start a beautiful and rewarding journey together.
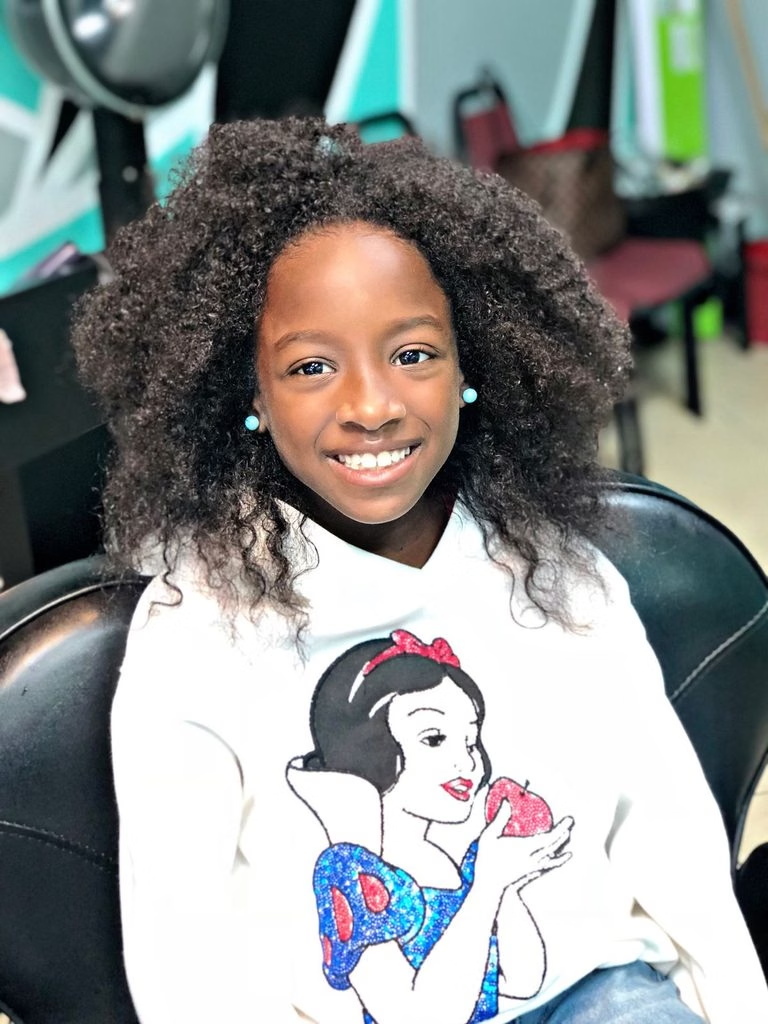
Choosing the Starting Method for Your Child
There are several ways to start locs, and each method gives a different look and feel. Comb coils work well on short hair and give small, neat spirals that look tidy.
Two strand twists suit hair that is a little longer, and they are quick and gentle. Interlocking uses a tool to pull the hair through the roots, and it holds very firmly.
Because interlocking can pull at the roots, I rarely use it on very young children. Ask your technician which method suits your child’s hair type, age, and tender scalp best.
Your technician can also show you how each method looks at three months and one year. Thicker hair may need larger sections, and finer hair often needs smaller and softer sections.
Section size matters a lot, because small locs are delicate and large locs feel heavy. Parts also matter, so ask for neat and balanced parts that you can easily maintain.
Short starting hair is fine, and 25 cute short locs hairstyles proves that short locs still look great. Most starter methods need hair of at least two to three inches for good results.
Do not pick a method just because a friend used it, since every head is different. Choose the gentlest method that gives a good start, and always avoid anything that hurts.
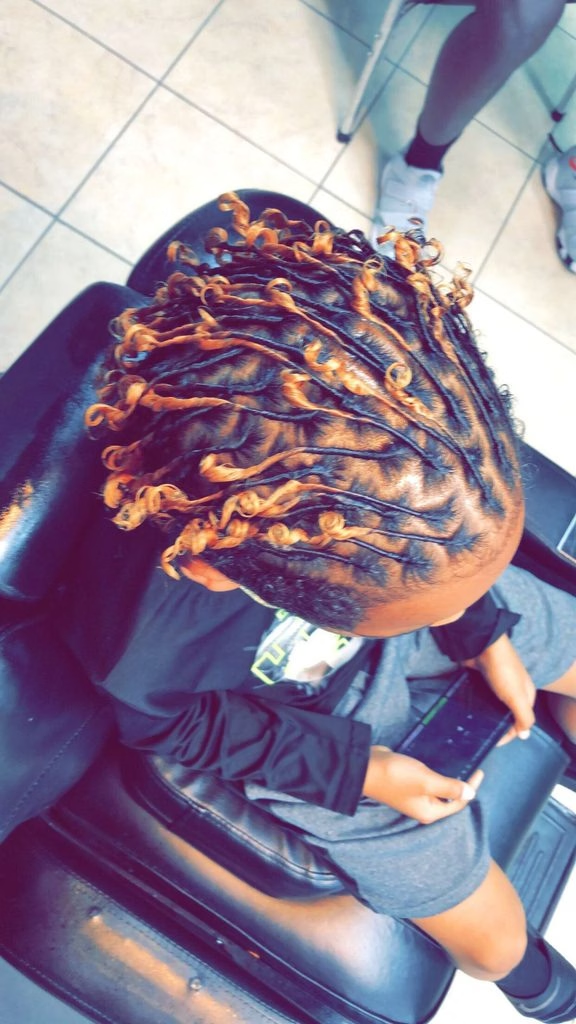
Week 1: The First Days of Starter Locs
Monica brought her son Jaylen in for his first set, and he sat very still. Two hours later, he looked in the mirror and asked why his hair looked so small.
That reaction is very common, because starter locs look tight, short, and quite plain at first. In week one, the locs are fresh and fragile, so they need very gentle handling.
The scalp may feel a little tender for a day or two after the appointment. If it hurts a lot, call your technician, because the parts may be too tight.
Keep your child’s head covered with a satin scarf at night to protect the new locs. Avoid pulling, twisting, or playing with the locs, since they can unravel at this stage.
For simple ideas that work early on, browse 37 beautiful starter loc styles together with your child. Keep styles loose and simple for now, because the roots still need time to settle.
Skip heavy oils and waxes, because they cling to starter locs and are hard to remove. A light water based spray is usually enough to keep the hair soft during week one.
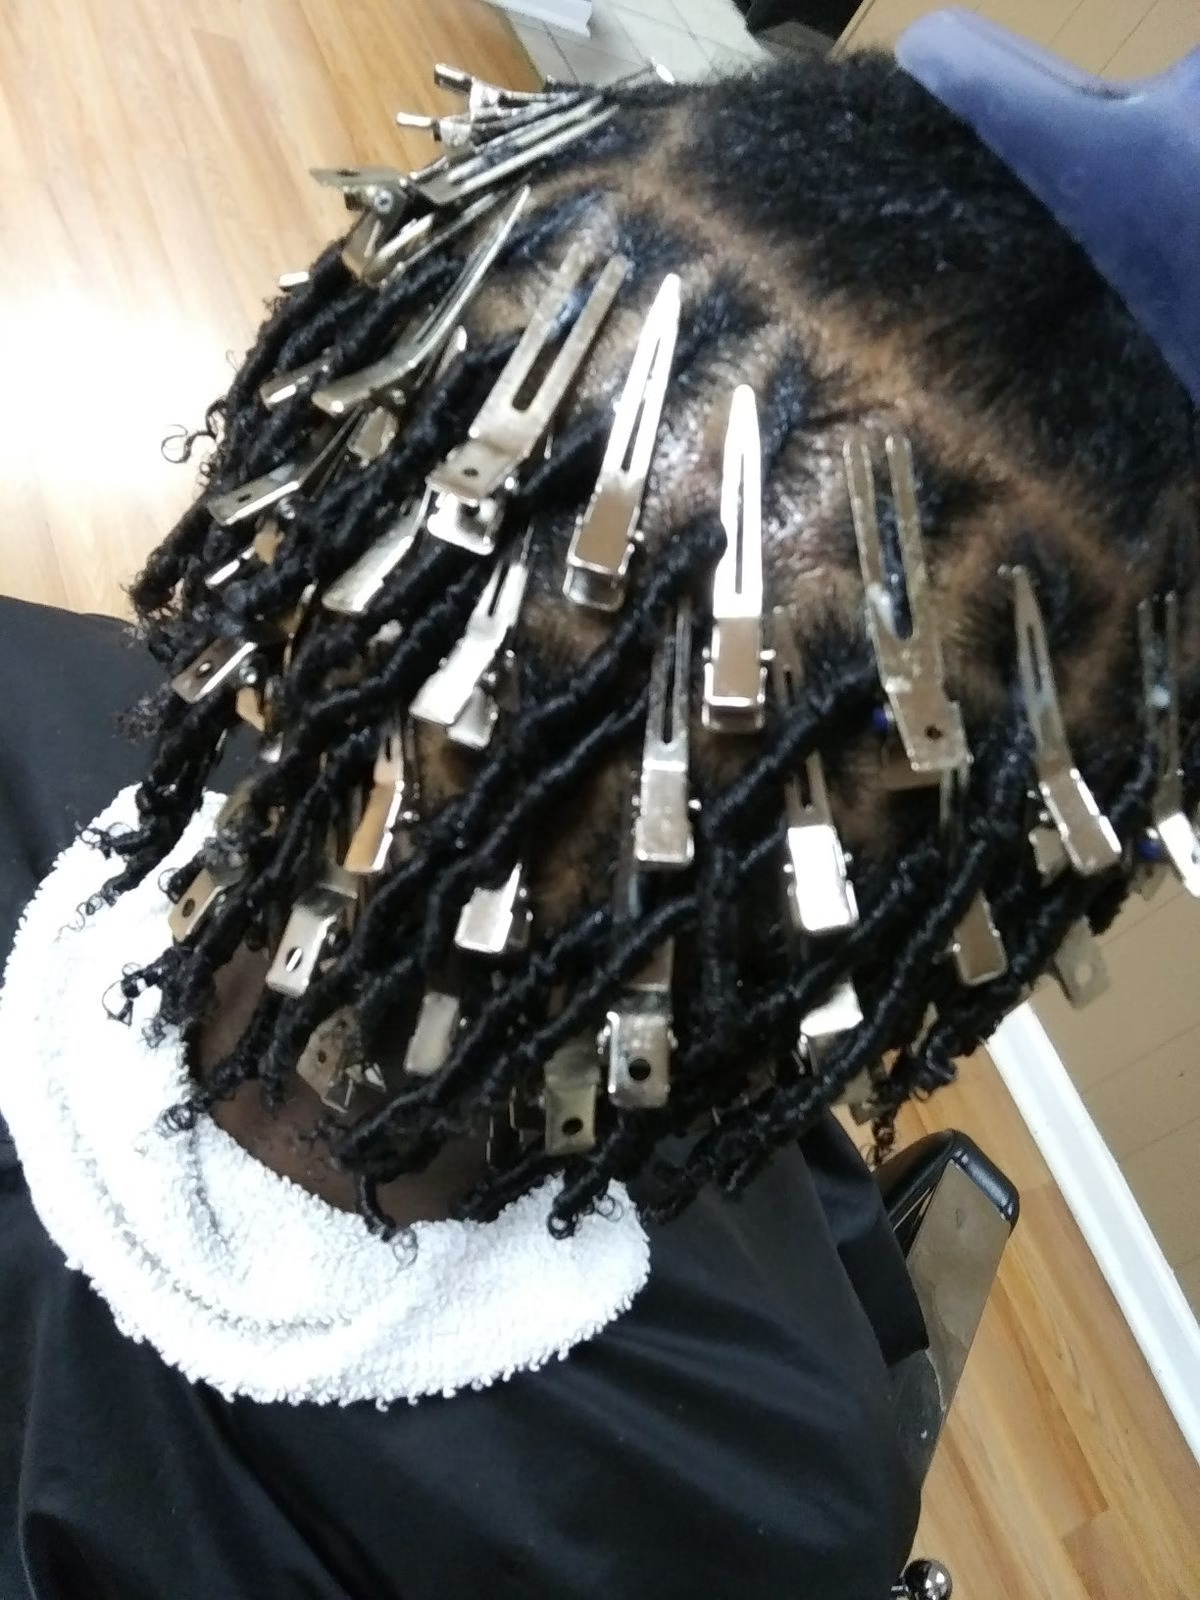
Weeks 2 to 4: Keeping the Starter Locs Safe
Weeks two to four are the safest time to be patient and the riskiest time to be rough. The locs are still loose inside, so water, friction, and tugging can undo them quickly.
Many technicians suggest waiting about two to four weeks before the first full wash of the locs. Ask your own technician for the exact timing, since it depends on the method used.
Until then, keep the scalp fresh and clean with a gentle spray and a soft cloth. When you do wash, use a stocking cap or a mesh bag to hold the locs in place.
Use a gentle shampoo, and press the suds in softly with your fingertips instead of scrubbing. Rinse until the water runs clear, and then squeeze out the water with a soft towel.
Let the locs dry fully, because damp locs can smell sour and cause scalp trouble. Frizz and loose hairs are normal at this stage, so please do not worry about them.
A little spray and plenty of patience will do more for starter locs than any product. Resist the urge to retwist early, because too much handling makes locs weak and thin.
Patience during these weeks pays off in strong and healthy locs for many years to come.
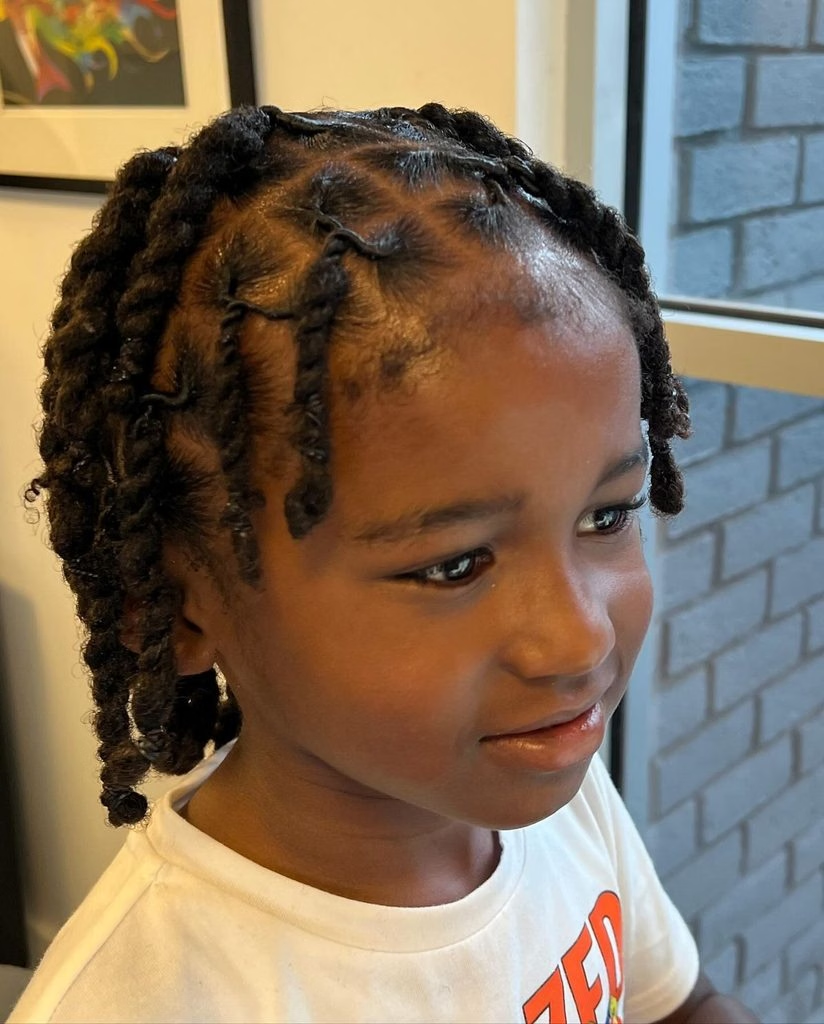
Month 2: When the Locs Begin to Change
What happens to starter locs when the first month passes and the roots start growing? New growth appears at the scalp, and the locs begin to look less neat and tidy.
This is the time for the first gentle retwist, usually around four to six weeks. Some children need to wait a little longer, depending on how fast their hair grows.
Keep the retwist light, and support the root with your fingers so that nothing pulls. Your child’s locs may shrink and look much shorter than they did on the first day.
Shrinkage is a sign of healthy, springy curls, and it is never a sign of lost hair. Some locs will swell, bump, or twist in odd directions, and all of that is normal.
Save this for later: 15 chic looks for women who love bold hair offers ideas for your own hair. Moisturize lightly with a water based spray, and seal the ends with a tiny dab of oil.
Do not use heavy butters or waxes, because buildup can stay in locs for a long time. Celebrate the small wins with your child, like the first neat retwist and the first full wash.
Do not compare your child’s locs to anyone else’s, because every head of hair has its own pace.
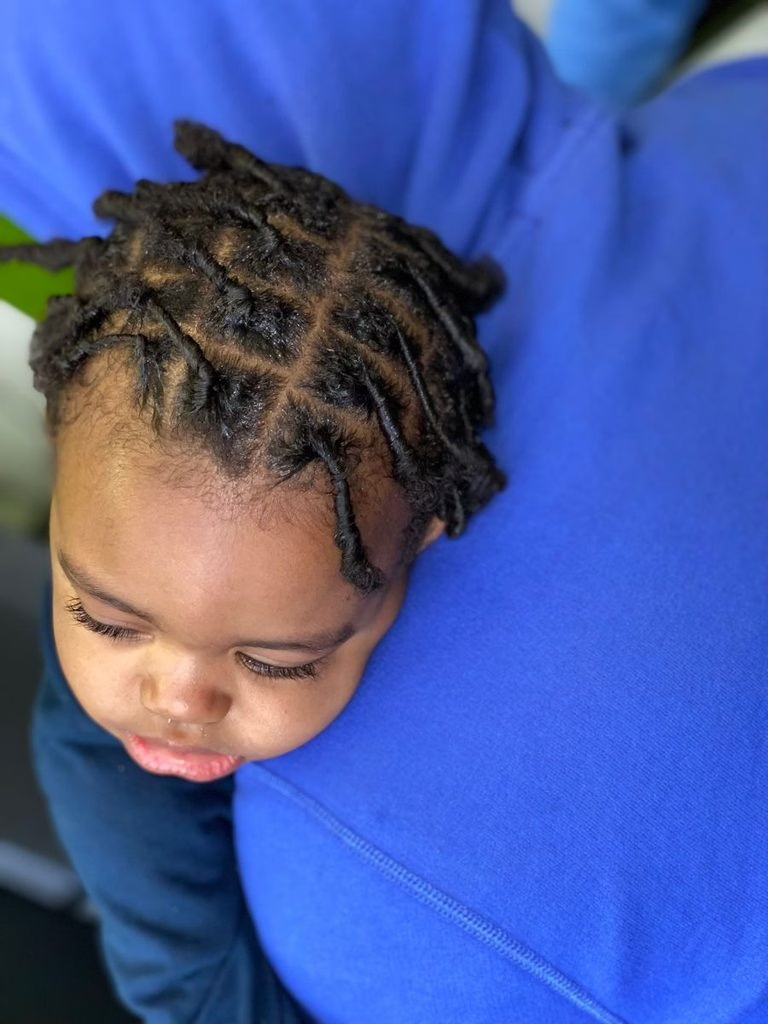
Months 3 to 5: The Budding Stage
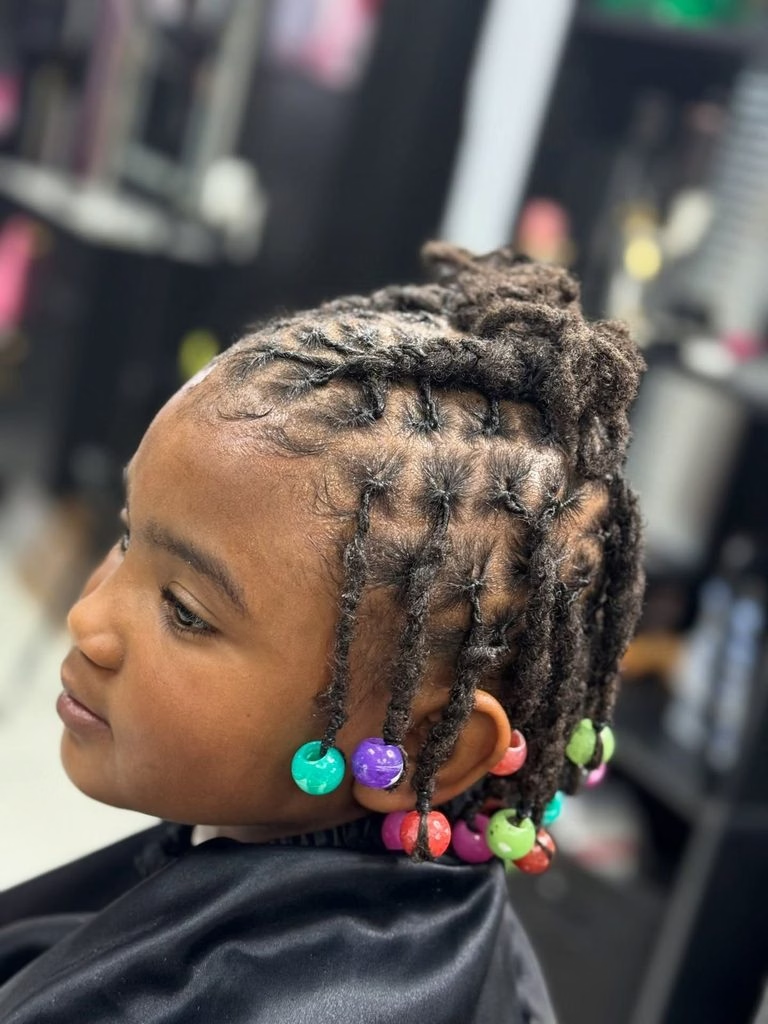
Between months three and five, many locs begin to bud, which means they start to knot. You may notice small bumps, or knots, forming along the length of each loc now.
Budding is a good sign, because it shows the hair is beginning to lock for real. Children at this stage often feel proud, since their locs finally start to look like locs.
The locs may also look thin, uneven, or quite different in size from one another. This is perfectly normal, and the locs will slowly even out as they grow and mature.
Bob length locs are a fun milestone, and bob locs for women in their 30s shows what is possible later. Keep washing every two to three weeks, and always dry the locs fully and gently afterward.
Do not pull apart locs that join together, unless your technician says it is truly needed. Limit retwists to about once every four to eight weeks to protect the new knots.
Keep protecting the locs at night with a soft satin scarf or a roomy satin bonnet. Take your photos again, and compare them to the first week to see real progress.
Months 6 to 9: The Awkward Stage
Chris once told me his daughter Amari wanted to quit locs at around month seven. Her locs looked frizzy and uneven, and they were too short to style the way she liked.
This is the awkward stage, and almost every child feels this way at some point. The locs are budding, swelling, and shrinking all at once, so they rarely look neat.
Chris encouraged Amari with a few simple styles and soft headbands, and she happily kept going. By month ten, her locs looked fuller, and she told everyone how much she loved them.
Use this stage to try gentle styles, like a loose half up half down look. For more ideas as the locs grow, see 45 half up half down locs styles with your child.
Avoid tight styles at this stage, because the locs are still thin and quite fragile. Keep retwists gentle and spaced out, and never retwist a loc just to fix some frizz.
Frizz is part of the process, and it fades as the locs tighten and mature. Remind your child that every loc journey has this stage, and it really does pass.
Months 9 to 12: Locs Start to Settle
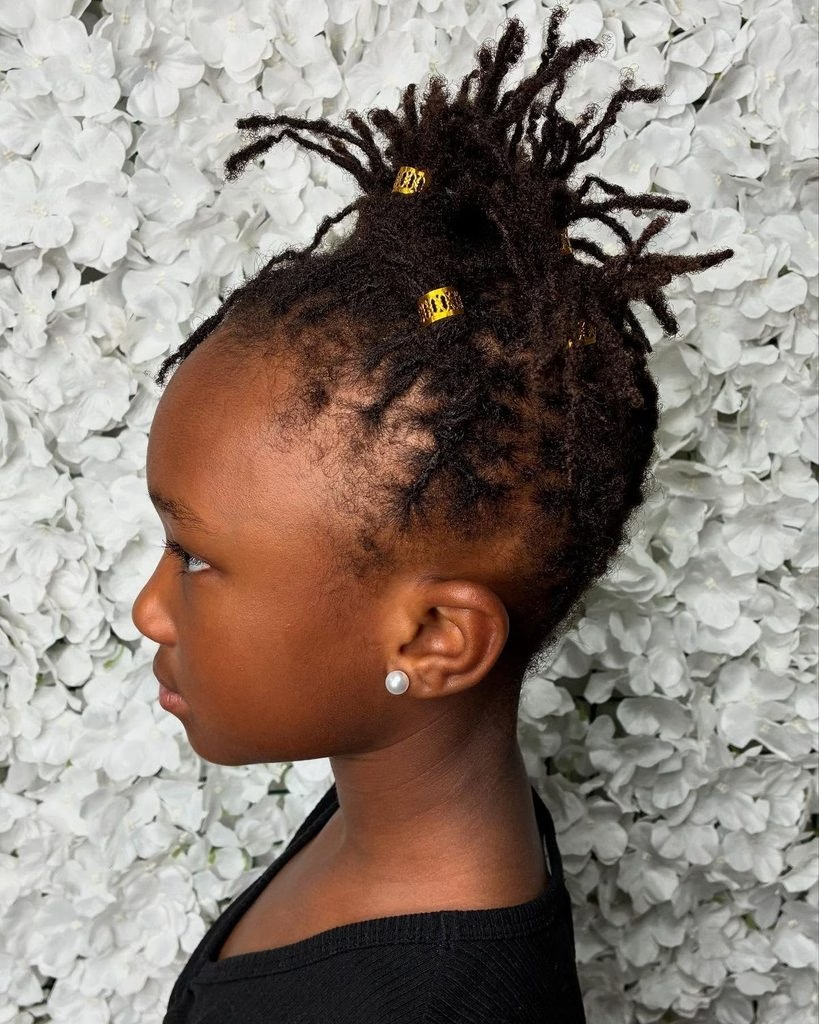
Around months nine to twelve, many locs begin to settle, and the whole head looks calmer. The knots tighten, the loose hairs lessen, and the locs begin to hang with some weight.
Your child can now try more styles, because the locs are finally longer and stronger. For neat looks, browse 22 styles that look polished and intentional and pick a few favorites.
Simple pinned styles, soft twists, and loose ponytails all work well at this stage of growth. Still, keep the tension low, because locs can break if they are pulled too hard.
Keep an eye on the ends, and ask your technician before you trim anything at all. Check the roots every month for thinning, soreness, or any signs of too much tension.
Your child may want to wash more often now, especially after sports and busy school days. Washing every one to two weeks is fine, as long as the scalp is dried well.
Rinse well, because leftover shampoo causes itching, flaking, and heavy buildup deep inside the locs. One year in is a big milestone, so celebrate it with a photo and a treat.
Show your child the first photo next to the new one, and watch the smile appear.
Year 2: Mature and Growing Locs
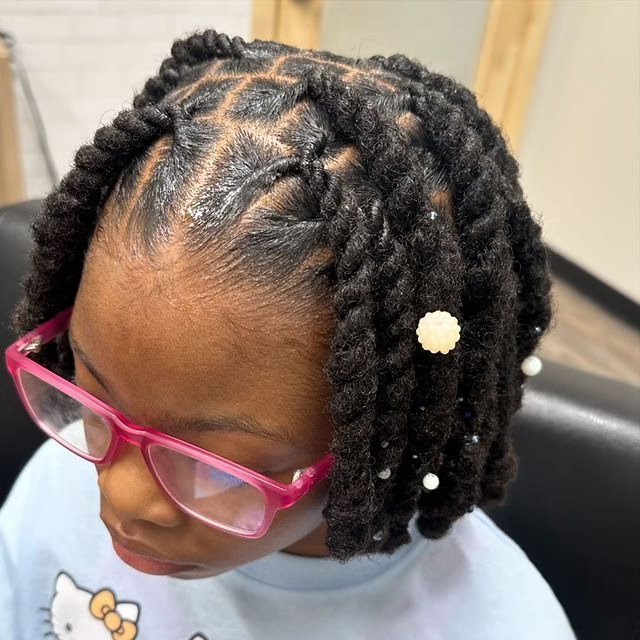
Many locs start to feel mature somewhere between one and two years, though timing varies. Mature locs are firm, round, and tightly knotted all the way from the root to the tip.
They hold their shape well, and they feel strong, springy, and healthy to the touch. At this stage, your child has much more freedom to style, play, and even swim.
Locs also grow longer and heavier in year two, so tight updos become riskier for the scalp. Keep the weight spread out, and avoid pulling the locs up into one tight bun.
Save this for later: 15 mature locs styles for women over 40 shows how locs age beautifully. Retwist only when you see a clear half inch of new growth at the roots.
Some children can go ten weeks or more between retwists with no problem at all. Mature locs still need regular washing, because buildup can hide deep inside thick and dense locs.
Let your child take more control of daily care, and guide them with kind reminders. Teach your child to feel the scalp for soreness, and to tell you when something hurts.
Owning their routine builds confidence, and it also prepares them for lifelong healthy hair habits.
How Washing and Retwisting Change Over Time
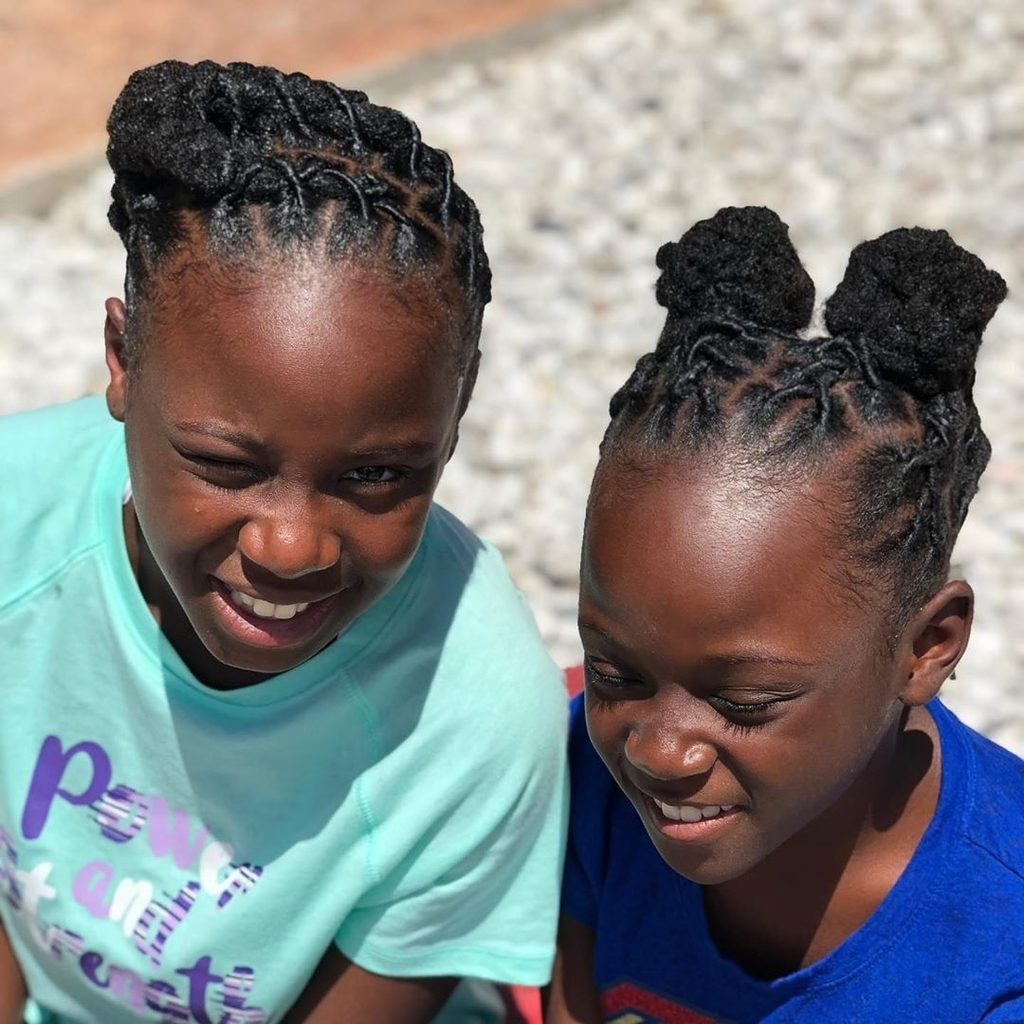
How often should a child with locs wash their hair as the months go by? In the first month, wash only when your technician says it is safe to do so.
After that, washing every two to three weeks suits most children, with extra rinses after sweat. Active children may need a quick water rinse after sports, even between their full wash days.
Retwist timing also changes, moving from every four to six weeks to much longer gaps. Mature locs need fewer retwists, and each retwist should always stay light and very gentle.
Save this for later: 14 cozy and chic looks for the season gives ideas for your next style. Switch to a clarifying shampoo once in a while to remove buildup from the locs.
Follow it with a light water rinse, since clarifying shampoos can leave the scalp feeling dry. Dry the locs well after every wash, using a towel and plenty of air time.
Use lukewarm water, because very hot water can dry the scalp and make itching worse. A hooded dryer on low heat can help, but only if the heat stays gentle.
Write down your routine, and tweak it as your child’s lifestyle and locs both change.
Protecting the Scalp, Edges, and Sleep Habits
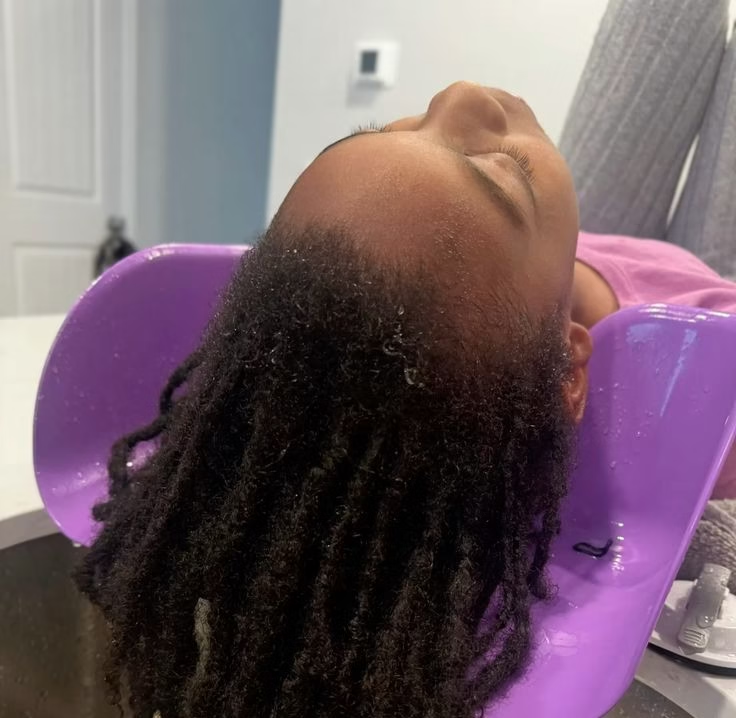
Scalp health always comes first, because healthy locs can only grow from a healthy scalp. Check your child’s scalp once every week for dryness, bumps, flakes, or any unusual redness.
If you see something worrying, talk to a doctor or a skin specialist right away. Edges are fragile, so avoid tight styles, rubber bands, and heavy clips near the hairline.
Pain is a warning, so loosen any style that makes your child wince or complain. Sleep is another big factor, since friction from cotton can cause frizz and trapped lint.
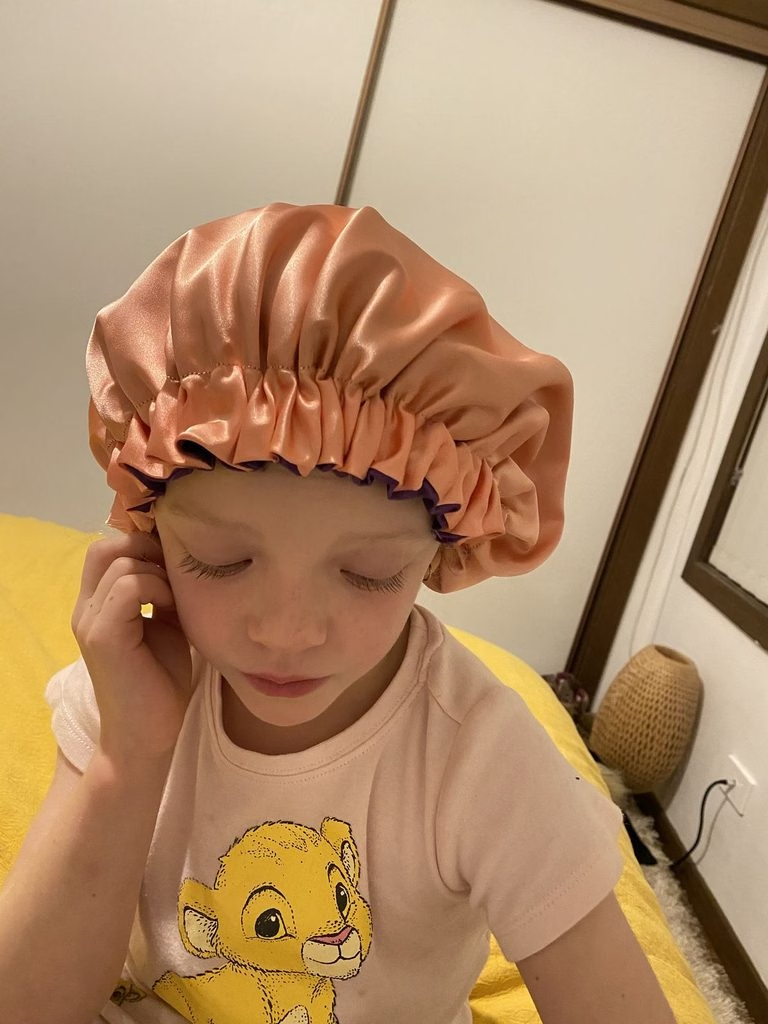
Cover the locs with a satin scarf or bonnet, or switch to a smooth satin pillowcase. Make sure the scarf is loose, because tight fabric can pull on tender edges overnight.
Keep your child’s pillowcase and scarf clean, and wash them often to prevent buildup and odor. In winter, keep wet locs inside until fully dry, and see 12 cozy protective looks for cold weather.
Hats lined with satin protect locs from dryness and from rough wool in the cold. Use your fingertips, not your nails, when you massage the scalp, to avoid small cuts.
A calm, clean, and well protected scalp is the real foundation of every loc journey.
Handling School, Sports, Swimming, and Friends
Renee told me her son came home upset because a classmate teased his new locs. She sat with him, listened, and practiced kind and confident answers they could use together.
Within a week, he was proudly explaining how his locs work to every classmate who asked. Tell your child’s teachers about the new locs, so they can support your child at school.
Check school rules about hair, and speak up kindly if a rule treats locs unfairly. For sports, tie locs back loosely, and use soft headbands that never dig into the scalp.
Rinse locs after heavy sweating, since salt and dirt can cause itching and buildup over time. For swimming, wet the locs with clean water first, and then use a swim cap if possible.
After swimming, rinse and wash the locs soon, because chlorine can dry out the hair. Save this for later: 20 looks that celebrate every year shows how locs grow with confidence.
Remind your child that locs are an expression of who they are, not a trend. Strong confidence at home makes it much easier for children to handle comments at school.
Styling Your Child’s Locs at Every Stage
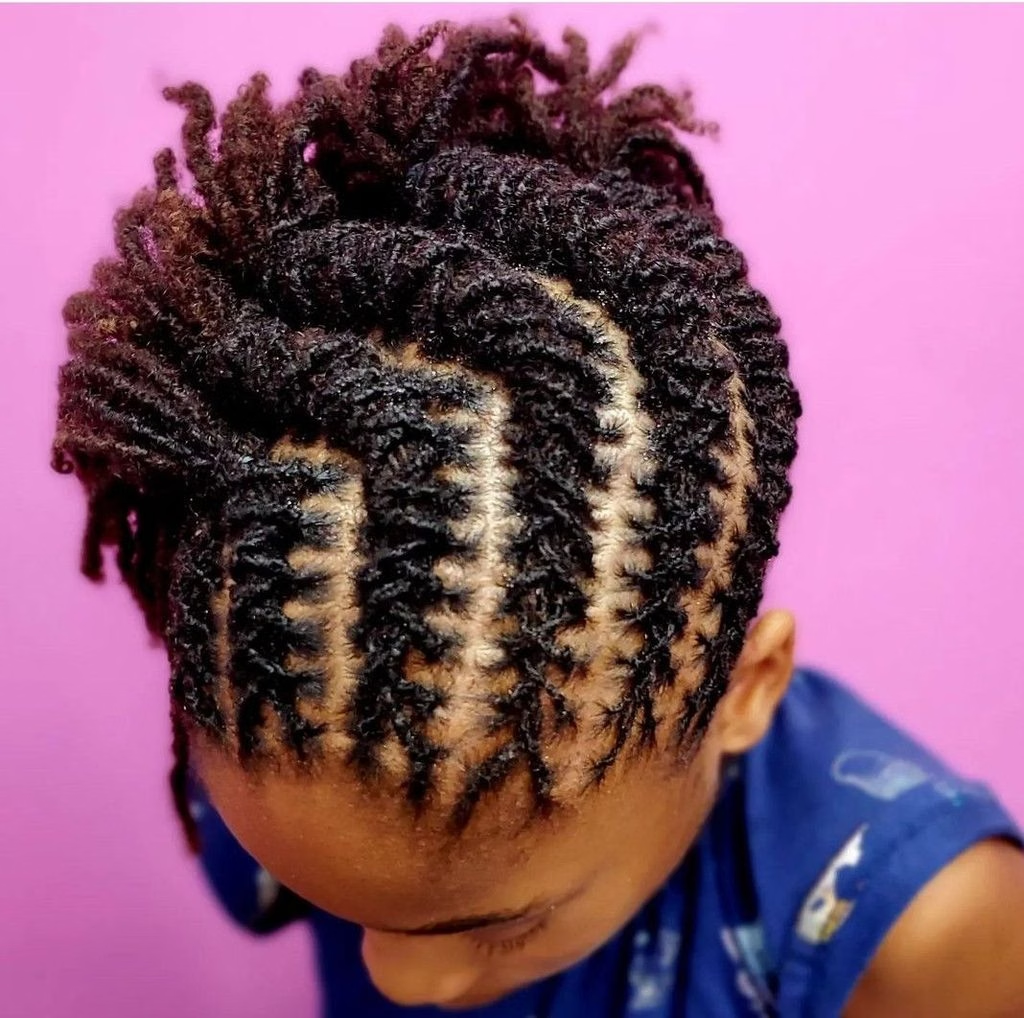
What styles are actually safe for each stage of your child’s loc journey, from start to finish? In the first few months, keep to very loose styles, like simply leaving the locs down.
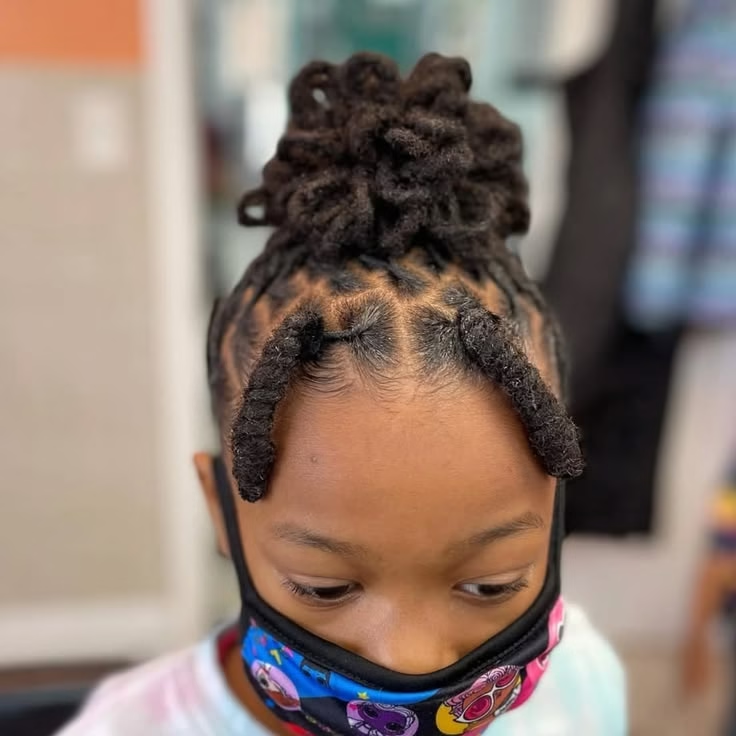
A soft headband or a light scarf adds a pretty touch without adding any stress. As the locs grow, try gentle twists, low ponytails, and loose half up styles for fun.
By year two, many children can handle soft buns, braided crowns, and fun side styles. For special days, such as a flower girl role, wedding loc updo styles offers lovely inspiration.
Even for big events, choose light holds and soft bands to protect your child’s roots. Rotate placement often, so no single area carries the weight of a style for long.
Take styles down at night or loosen them, so the scalp can rest and breathe. Let your child choose accessories, since a sense of choice makes styling fun and calm.
Keep a small box of soft clips and bands, so styling never feels like a rushed chore. Try new looks on a quiet day first, so you can adjust anything that feels tight.
Good styling should never hurt, and it should always protect the long term health of locs.
Common Worries Parents Have
Almost every parent worries at some point, and these worries are all completely understandable and valid. One big worry is that locs will come loose, especially in the first few weeks.
Loose locs are common early on, and a gentle retwist by a technician usually solves the problem. Another worry is lint, which can cling to locs and be tricky to remove later.
A satin scarf at night, plus clean towels and soft clothing, helps keep lint away. Some parents worry that locs mean the hair will not grow, which is a common myth.
Hair keeps growing from the scalp as usual, and locs simply hold the shed strands. Thinning edges worry many parents too, and the cause is very often too much tension.
Loosen the styles, reduce how often you retwist, and give the hairline plenty of rest. Talk through every worry with your technician, because small questions are easy to answer early.
Save this for later: 20 stunning ideas for your wedding day shows how patient care pays off. If your child wants to stop, listen kindly, and talk about the reason behind it.
Ending locs is a personal choice, and a loving talk keeps the choice calm and healthy.

Final Thoughts: Patience Is the Real Secret
Starting locs with your child is a long journey of patience, care, and a lot of love. The first weeks are for protection, the middle months are for patience, and year two is for freedom.
Frizz, shrinkage, budding, and the awkward stage are all perfectly normal parts of the process. Keep the scalp healthy, keep the styles gentle, and keep the retwists light and spaced out.
Support your child at school, at sports, and at home with warm words and steady confidence. Monica, Chris, and Renee each faced doubts, and each of them grew along with the locs.
Take photos, celebrate every milestone, and remind your child how far their locs have really come. Remember that no timeline is perfect, and your child’s locs will grow in their own time.
Trust the process, trust your technician, and trust your child to tell you what feels right. One day, you will look back at the first photo and smile at how far you came.