
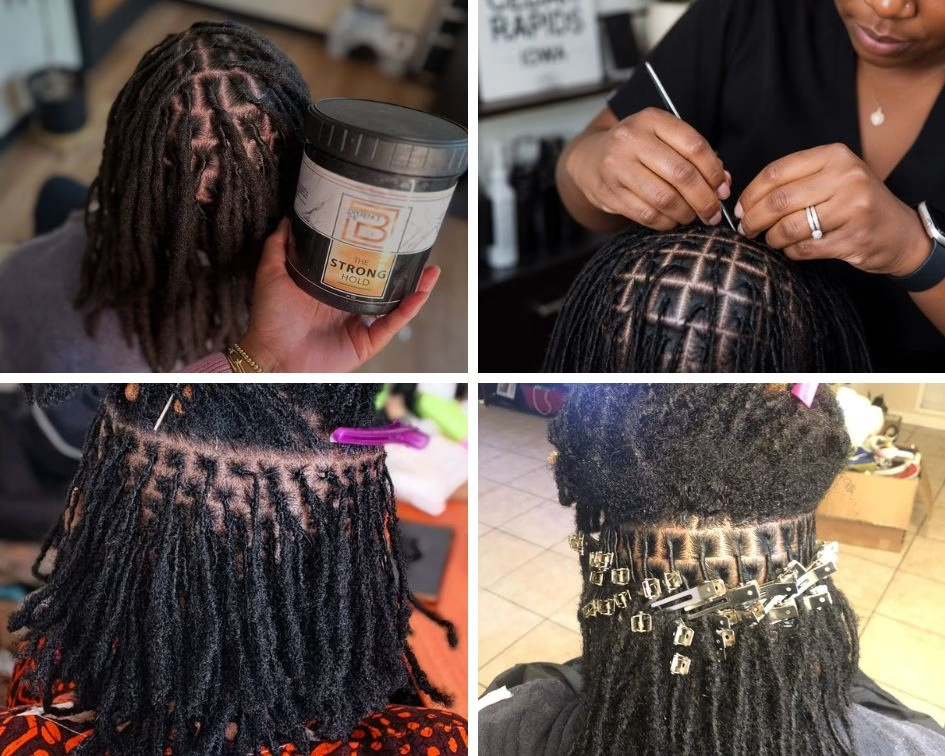
Your locs are fresh from the wash, your calendar is full, and the salon quote makes your wallet wince. Retwisting at home solves all three problems at once, and it is far easier than most women expect.
With the right tools and a little patience, you can keep your roots neat without leaving your living room.
This guide walks you through every step, from washing day to the final seal, in plain and simple words. A neat retwist also gives you that; polished finish seen in office-ready locs hairstyles for women every single week.
Do not worry if you have never touched your own roots before, since every expert started as a beginner. Read the full guide once before you start, so each step feels familiar when your hands are busy.
Many women feel nervous at first, but your hands learn quickly once the first few locs are done. By the end of this post, you will know exactly what to do and what to avoid.
How to Retwist Locs at Home for Black Women: A Step-by-Step Visual Guide
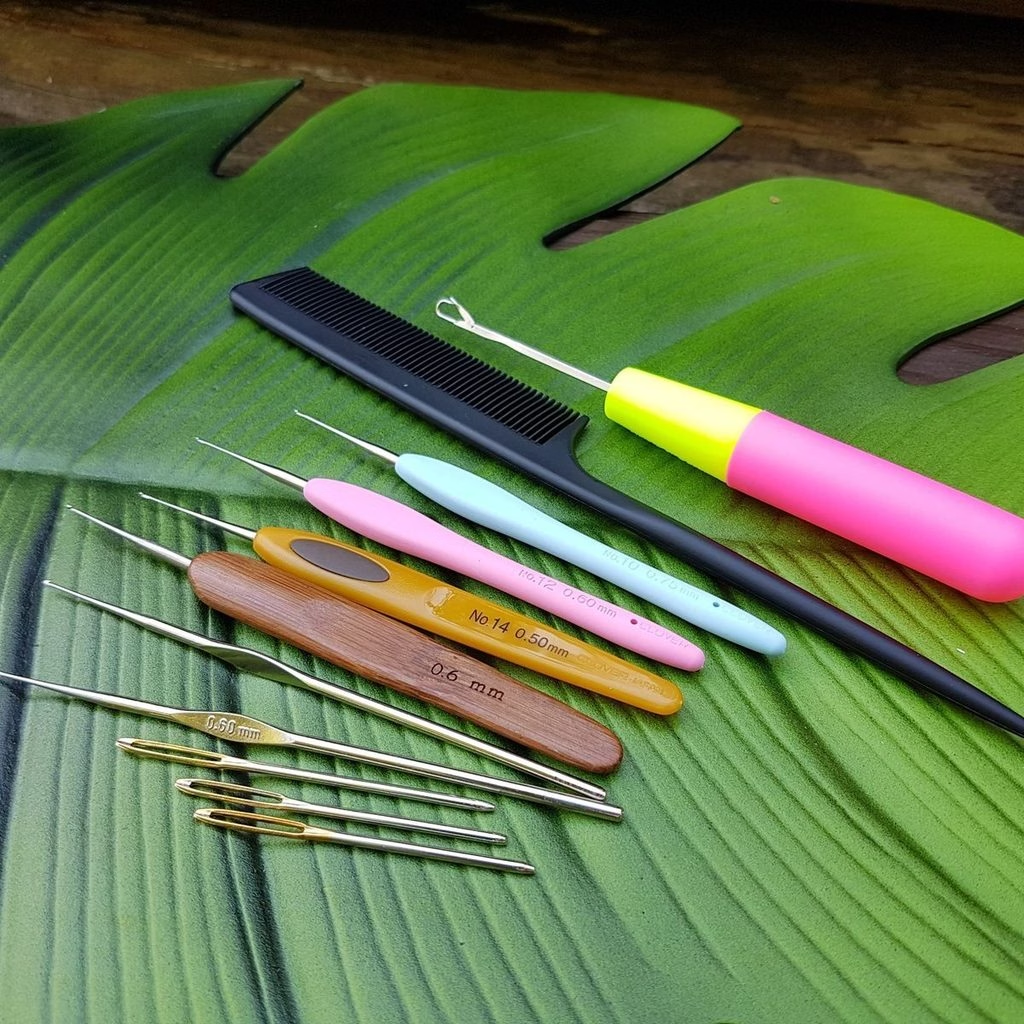
What You’ll Need
Everything used in this guide, gathered in one place.
What Retwisting Actually Does
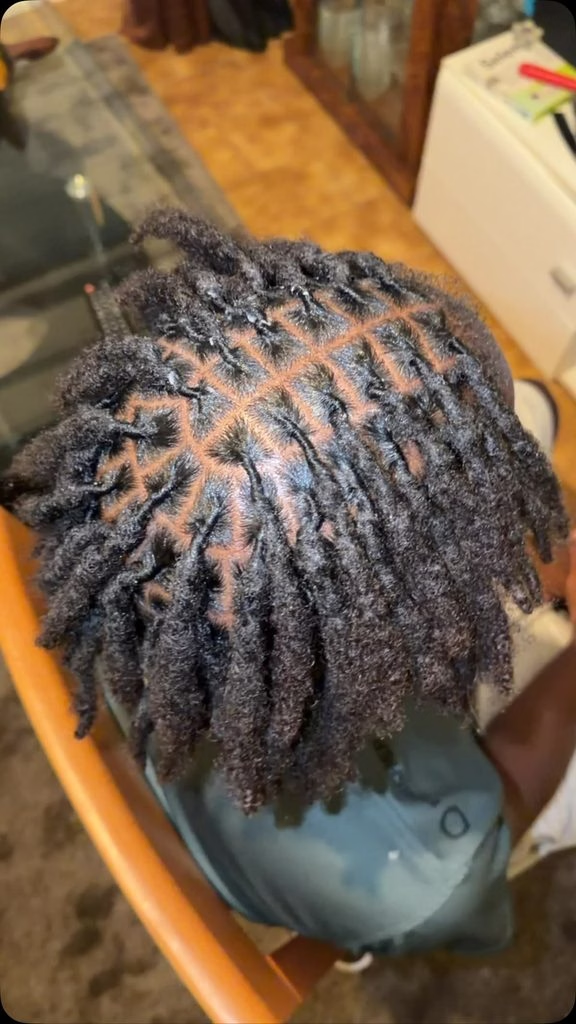
Retwisting means twisting the new growth at your roots so it locks in step with the rest of each loc. Hair grows about half an inch each month, so loose roots appear faster than most beginners expect.
Without regular retwisting, that new growth stays soft and can slowly unravel the base of your locs. Retwisting keeps every loc tidy, evenly sized, and firmly attached to the scalp where it belongs.
If your locs are still young, 37 beautiful starter loc styles show how neat roots improve every look. Think of retwisting as gentle maintenance, not a complicated treatment that needs special training or expensive tools.
The goal is simple, which is to guide new hair into the same pattern as your existing locs. Once you understand that goal, every step in this guide will make clear and practical sense.
A calm mindset matters too, since rushing the process often leads to uneven twists and sore scalp areas. Healthy retwisting never hurts, so treat any sharp pain as a clear sign to stop and rest.
Many women find the process relaxing once it becomes a regular part of their monthly self care.
How Often Should You Retwist
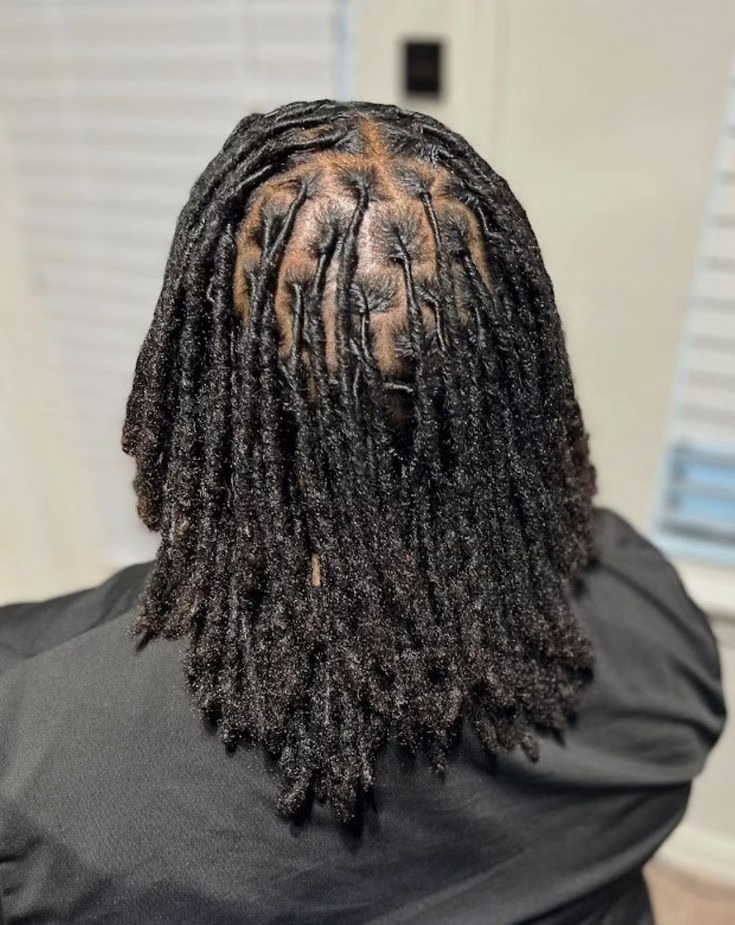
Most loc wearers retwist every four to eight weeks, depending on how quickly their hair grows. Retwisting too often can stress the roots, while waiting too long can leave the new growth tangled.
A good rule is to retwist when you see about half an inch of loose growth. Seasoned wearers, like those in 15 mature locs styles for women over 40, often stretch this schedule.
Fine or fast growing hair may need attention a little sooner than thick, slow growing hair. Listen to your scalp, since tenderness or tightness usually means you retwisted too soon or too tight.
Mark your next retwist date on a calendar, so the habit stays steady without constant guessing. Over time, you will learn your own hair’s rhythm and adjust the schedule with confidence.
A simple photo each month also helps you see how fast your roots really grow. Keeping notes on each session makes future retwisting faster, calmer, and much more predictable overall.
Special events may call for an earlier retwist, so check your calendar before each big occasion. Sticking to a gentle schedule protects your roots and keeps your locs looking fresh and uniform.
Gather Your Tools and Products
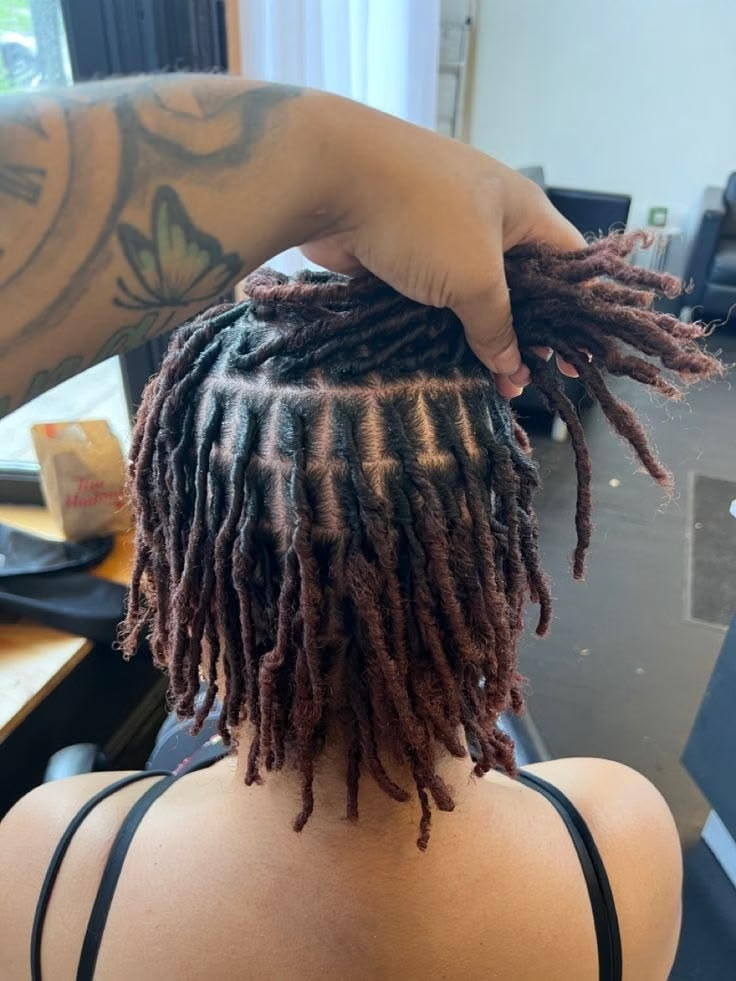
Before you start, gather everything you need so you never leave your chair halfway through. You will need a rat tail comb, duckbill clips, a spray bottle, and a light, water based retwisting gel.
A hand mirror and a second mirror behind you help you see the back of your head. Choose products without heavy wax or thick butters, since those can build up and cause dull, sticky locs.
A satin scarf or bonnet is useful for finishing, because it protects your fresh twists overnight. Keep a small towel nearby for drips, and place your tools on a tray within easy reach.
Clean tools matter, so wipe your comb and clips with a damp cloth before you begin. You do not need many products, and simple choices usually give the best long term results.
Test any new gel on a small section first, to make sure it does not leave flakes. Having everything ready makes the process feel relaxed, almost like a small home spa session.
Buy quality tools once, since cheap combs and clips often snap and snag your hair.
A small spray bottle filled with plain water works better than a heavy, oily mist. Store your tools in one box, so your next retwist session starts without any searching.
Prepare Your Space and Your Hair
Choose a bright, comfortable spot with a mirror, good light, and space to rest your arms. Retwisting can take two to four hours, so play music or a show to keep your mood light.
Wear an old shirt and tie a towel around your shoulders to catch any drips and product. Short locs, like those in short locs for women in their 30s, need smaller sections and more careful hands.
Detangle any loose strands gently before you start, using your fingers instead of a harsh brush. Check your nails too, since long or sharp nails can scratch your scalp during twisting.
Drink some water and eat a small snack, because a long session can leave you tired. Put your phone on a stand, so you can follow any video guide without using wet hands.
A calm, organized space makes the whole process faster and far more enjoyable from start to finish. Take a deep breath, roll your shoulders, and remind yourself that this skill improves with practice.
Ask a friend or family member to help with the back sections if you feel unsure. Keep pets and small children out of the room, so nothing distracts you mid twist.
Turn off your phone notifications, since a calm mind helps your hands stay steady and gentle.
Step One: Wash and Condition Gently
Start with a clean scalp, since retwisting over dirt and buildup can trap grime inside your locs. Use a residue free shampoo and focus your fingertips on the scalp, not on the length of each loc.
Rinse thoroughly, because leftover shampoo can leave white flakes deep inside your locs for many weeks. A light conditioner on the ends keeps them soft, but keep it away from the roots.
Seasonal looks in locs styles for black women this fall remind us that clean locs always style better. Squeeze out extra water with a clean towel, pressing gently instead of rubbing the locs.
Rubbing can cause frizz and loosen the roots, which makes retwisting harder and less neat. Some people retwist on damp hair, while others prefer slightly drier roots for better grip.
Try both methods over a few sessions and notice which one holds your twists best. Clean, damp locs are the perfect canvas, so take your time with this first and simple step.
Never scrub your locs hard, because rough washing can cause frizz and unwanted thinning along the length. A clean start also helps your retwisting gel grip better and last longer between sessions.

Step Two: Dry Your Locs Properly
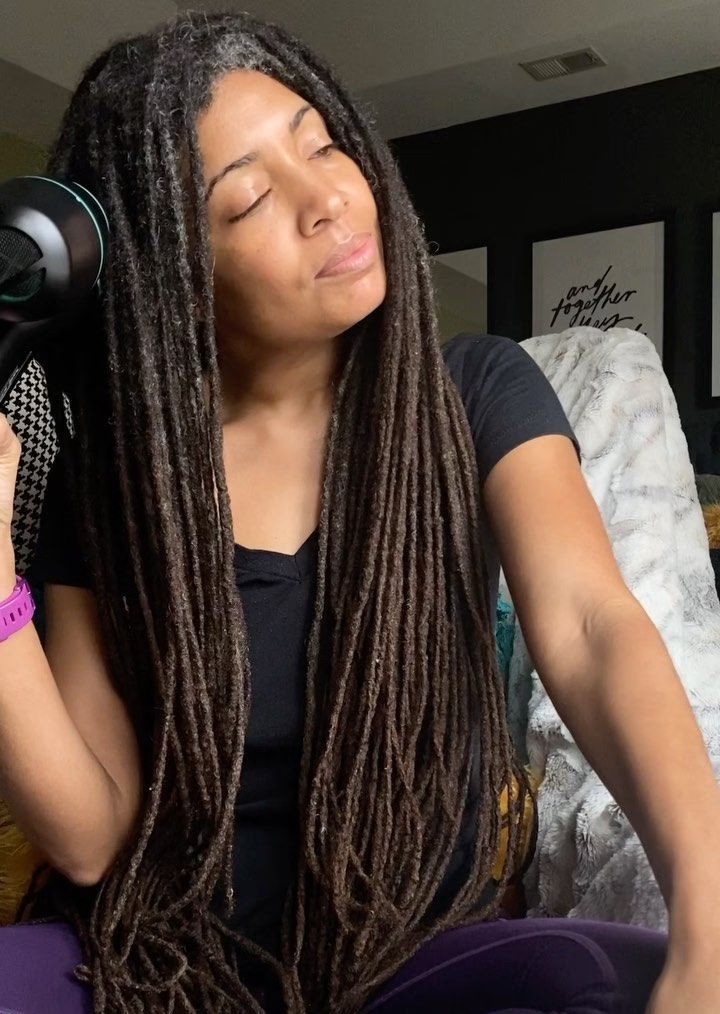
Locs hold a lot of water, so they can stay wet inside long after the outside feels dry. Damp locs left for too long can develop a musty smell, which is hard to remove later.
Air dry whenever you can, or use a hooded dryer on a low setting for gentle, even heat. Longer locs, like those in long locs styles for fall and winter, need extra drying time in cold weather.
Never go outside in freezing weather with wet locs, since they can feel stiff and uncomfortable. Press a dry towel along each loc to soak up deep moisture without disturbing the roots.
If you plan to retwist while damp, leave the roots slightly moist for easier twisting. Do not rush this step, because trapped moisture can affect how well your retwist holds.
A good drying routine also protects your scalp from irritation and unpleasant odors over time. Patience here pays off, since dry and fresh locs make the next steps much smoother.
Sit near a window or a fan, so fresh air can move through your locs. Squeeze each loc gently from root to tip to check that no hidden water remains. Plan to retwist on a day when you have no rush or pressing errands waiting.
Step Three: Section Your Hair
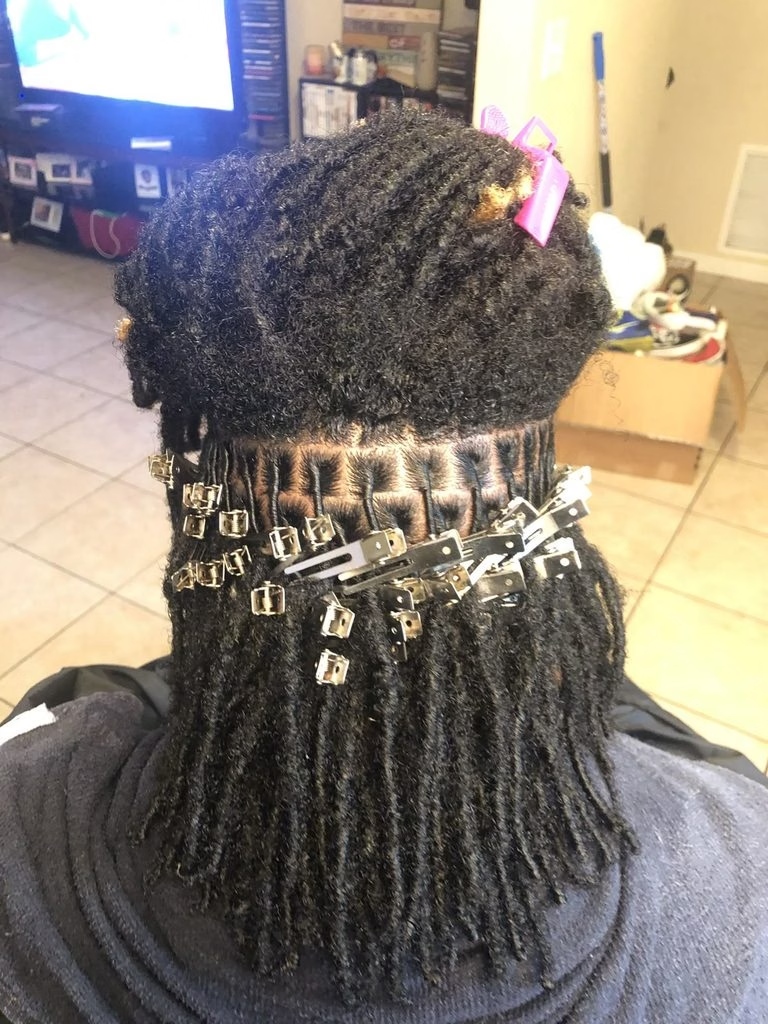
Sectioning keeps your work organized, so you never miss a loc or twist the same one twice. Divide your hair into four to six large parts, and clip each part away from your face.
Begin at the nape, then work upward, so loose hair never falls over the areas you finished. Shorter, structured shapes, like short bob locs styles, look best when every section is evenly twisted.
Use your rat tail comb to make clean parts along the original base of each loc. Keep the parts straight and consistent, since crooked bases can make your locs look uneven.
Work with one section at a time, and mist the roots lightly if the hair dries out. Take a short break between sections to rest your arms, stretch your neck, and sip water.
Good sectioning might feel slow at first, but it saves time and frustration later on. Neat sections also make your finished style look professional, as if a stylist did the work.
Use small clips for fine hair and larger clips for thick hair, so each section stays secure. Taking your time here makes every later step feel simpler, faster, and far more accurate.
Step Four: Apply Your Retwisting Product
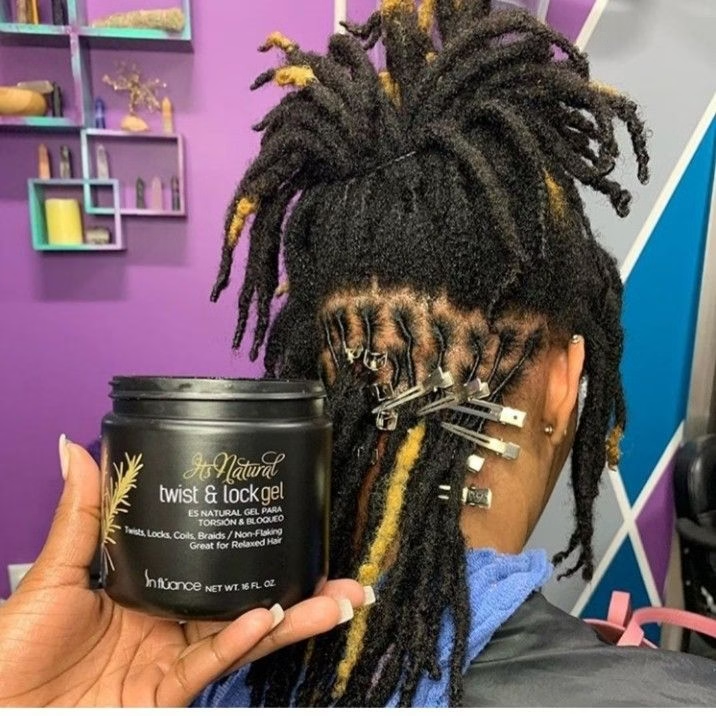
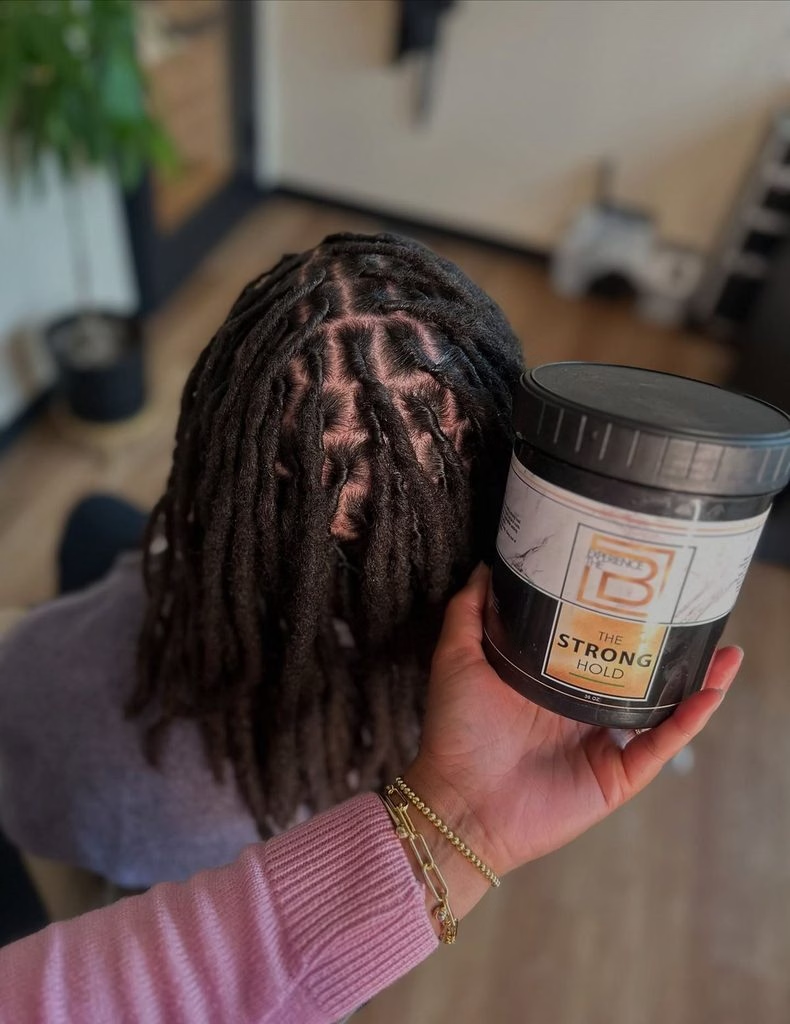
Apply a small amount of gel or cream to the new growth, using only what you need. Too much product creates buildup, flakes, and a heavy feeling that is hard to rinse away.
Spread the product evenly from the root to the point where the loc already begins. For easy results, 18 cute locs styles for women who love effortless everyday looks suggest using light gels.
Water based products rinse out easily, so they are safer for regular use than heavy waxes. Oils can help soften dry scalps, but use them sparingly so your twists can still grip.
Always apply product to one section at a time, before the gel has a chance to dry. If your hair feels sticky, you used too much, so wipe away the extra with a damp cloth.
Over time, you will learn the exact amount your hair needs for a firm, clean twist. Keep a small notebook of what works, so each future session becomes easier and quicker.
Start with the amount of a small pea for each loc, and add more only if needed. Warm the product between your palms first, because warm gel spreads smoothly and evenly across the roots.
Avoid getting product on your length, since it can attract lint and dust over time.
Step Five: Palm Roll the New Growth
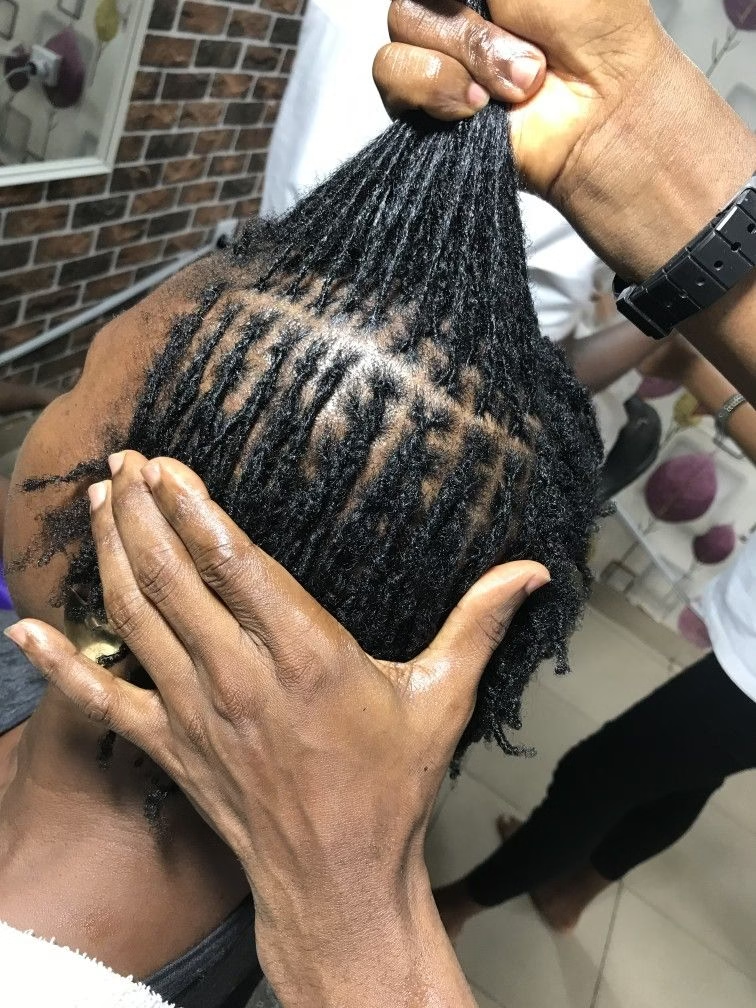
Palm rolling is the most common retwisting method, and it feels natural once you learn it. Hold the base of the loc between your thumb and finger, then roll the new growth clockwise.
Use the same direction each time, since switching directions can loosen your locs and cause frizz. Gentle pressure is enough, because pulling hard can hurt your scalp and thin your roots.
Smaller styles, like 25 cute short locs hairstyles, rely on tight, tidy roots to look polished. Roll each loc slowly, and check that the twist feels firm but never painful to you.
If your fingers tire, shake out your hands and rest for a minute before continuing. Practice on a few locs first, then compare them to see which ones feel the firmest.
Consistent rolling builds muscle memory, and soon your hands will move without very much thought at all. Speed will come naturally, so focus on accuracy and comfort during your first few sessions.
Keep your elbows relaxed and your wrists loose, because tension in your arms travels into your hands. Check each finished loc in the mirror, and fix any bump or bend right away.
Step Six: Use the Interlocking Method When Needed
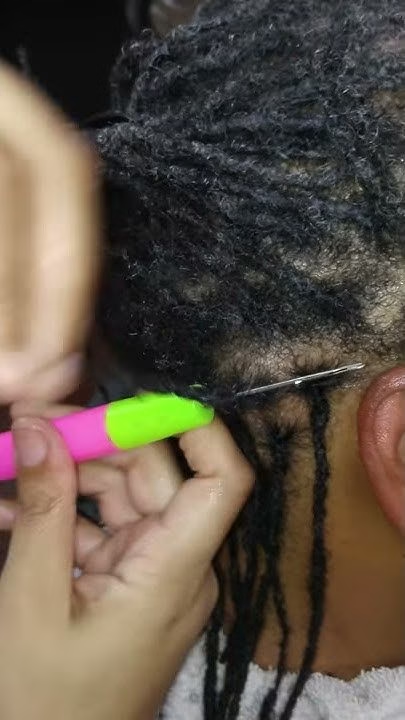
Interlocking pulls the end of a loc through the base to lock the new growth in place. This method holds longer than palm rolling, but it needs a special tool and some practice.
A latch hook or interlocking tool helps you pull the loc through cleanly without damage. Fine, delicate styles, like sisterlocks for black women over 40, depend on precise interlocking skills.
Interlock only when needed, since doing it too often can thin your locs over time. Many people use palm rolling for most sessions and save interlocking for every few months.
Watch a slow video tutorial first, because the hand movements are easier to see than to read. Start with a loose loc near the nape, where mistakes are easy to hide at first.
If a loc feels too tight after interlocking, loosen it gently and try again later. Learning this method slowly protects your hair, and it gives you another useful tool for later.
Choose an interlocking tool with a smooth hook, since rough edges can snag and tear your hair. Wait until your new growth is long enough, because very short roots are hard to interlock safely.
Many professionals interlock in different directions each time, which spreads stress evenly across your scalp over many years.
Step Seven: Secure the Twisted Sections
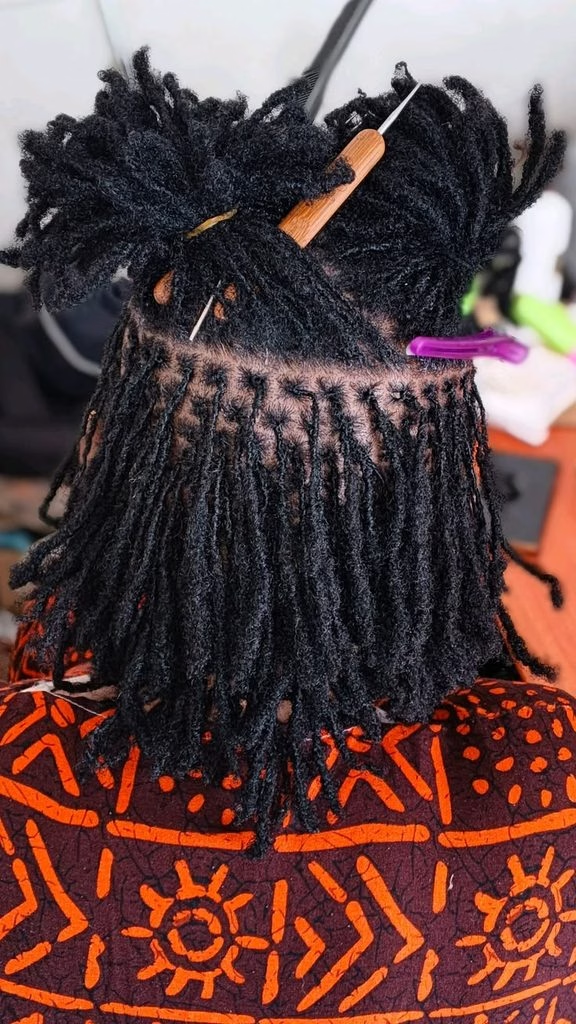
Once a loc is twisted, secure it with a small clip or a soft pin until you finish. Avoid metal clips with sharp edges, since they can press into the hair and leave dents.
Place each clip so it sits flat, which also helps you see which locs are done. If you plan a fancy look, like 45 half up half down locs styles, neat roots matter even more.
After you clip all the locs in a section, take a moment to look for gaps. Fix any loose or crooked twists before moving on, because they are easier to correct now.
Unclip the finished sections only when you are ready to dry and style the whole head. Do not leave clips in for many hours, since they can leave marks and cause tension.
Gentle handling at this stage protects your fresh twists from unraveling before they have time to settle. A little care now saves you from redoing parts of your work tomorrow morning or later.
Soft, coated clips are gentler than bare metal clips, especially on fine or fragile hair types. Keep the clipped sections neat, so your finished style looks balanced from every single angle.
Step Eight: Seal and Set the Style
Once every section is twisted, let your locs air dry or sit under a dryer until fully dry. Fully dry twists set better, and they stay neat for much longer between your retwisting sessions.
Once dry, remove the clips gently and fluff the roots slightly if they feel too flat. Special events, like those in wedding loc updo styles for black brides, need extra neat roots for photos.
Wrap your head in a satin scarf or bonnet to protect the fresh twists overnight. Avoid cotton pillowcases, because they can snag your hair and pull the new twists loose.
Skip heavy styling for the first day or two, so the twists can settle properly. Avoid washing your locs for at least two days, to let the new twists lock in. A light mist of water and oil can refresh the style without disturbing the roots.
Admire your work in the mirror, and take a photo to track your progress over the coming months. Give your scalp a gentle massage with your fingertips once the twists are fully dry.
Take a quick photo from the front, back, and sides to see how neat your work looks. Treat yourself afterward, since finishing a full retwist at home is a real accomplishment worth celebrating.
Common Retwisting Mistakes to Avoid
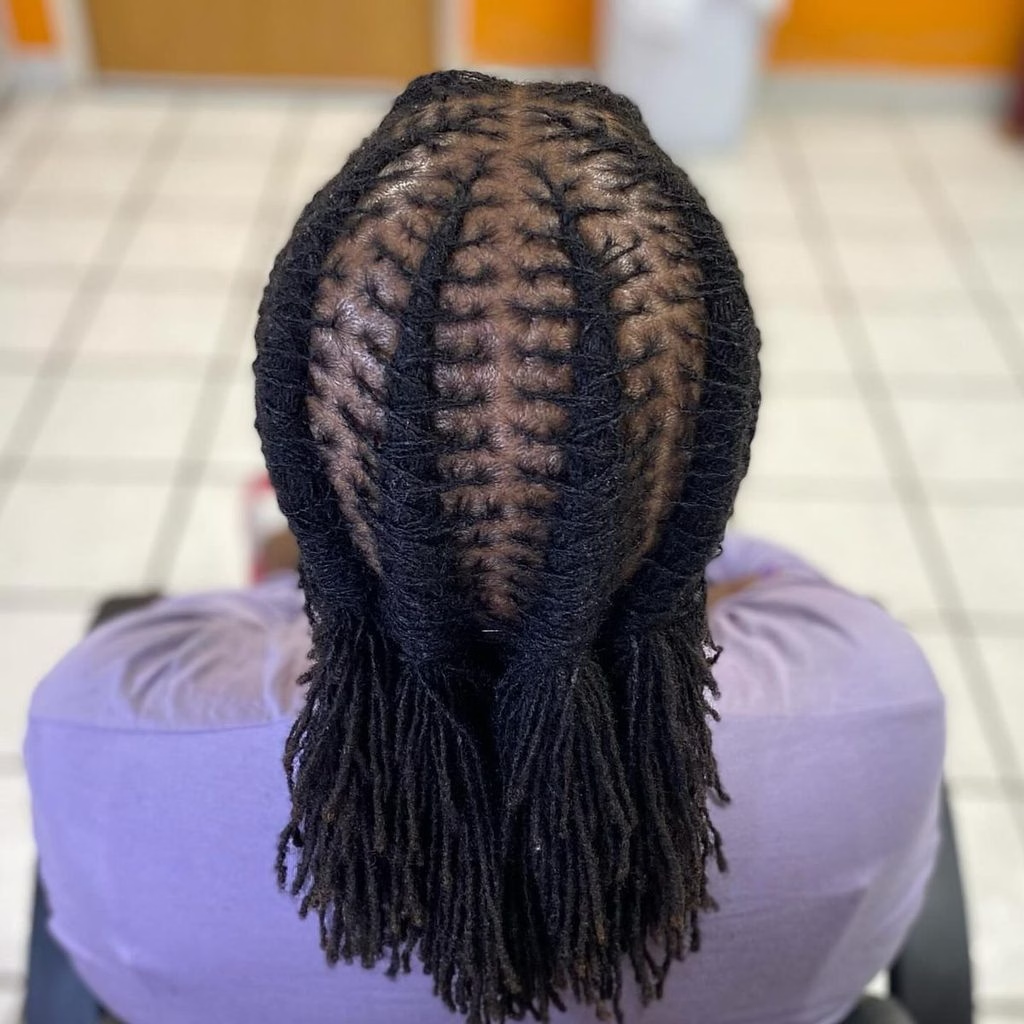
The biggest mistake is twisting too tightly, which can cause pain, bumps, and even hair loss. Another common mistake is retwisting too often, which stresses the roots and thins the locs.
Using heavy waxes or thick butters causes buildup that is hard to remove later on. Parents helping with a child’s retwist can also learn from 6 mistakes parents make when starting their child’s locs.
Skipping the drying step is another frequent error, since damp locs can grow mildew inside. Changing your twisting direction between sessions can also loosen your locs and create messy roots.
Rushing through sections leads to uneven parts, and those crooked bases are hard to fix. Ignoring scalp pain is risky, so stop right away if something feels sharp or burning.
Everyone makes mistakes while learning, so treat each one as useful information instead of failure. Write down what went wrong, and adjust your approach during your next retwisting session at home.
Do not compare your first attempt to a stylist who has twisted thousands of heads. Small, steady improvements matter more than perfect results, so celebrate every neat twist you finish.
Retwisting Different Loc Lengths
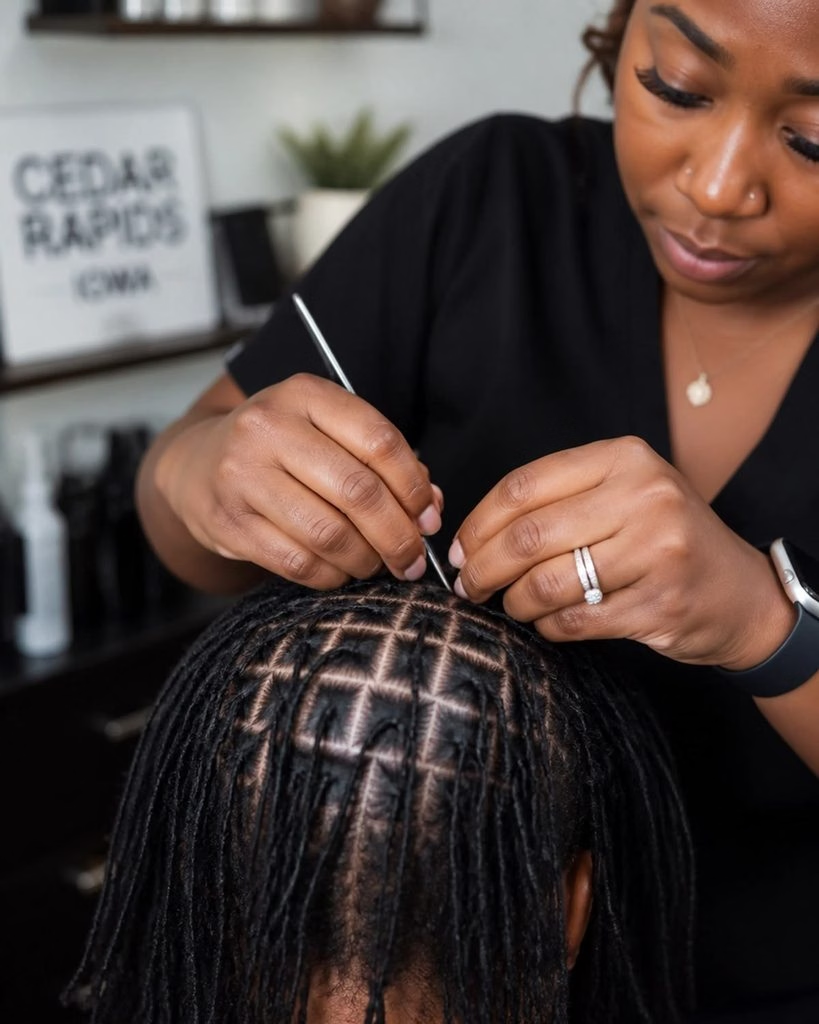
Locs at different lengths need slightly different handling, so adjust your approach to your own hair. Shoulder length locs, like those in bob locs for women in their 30s, are fairly easy to manage.
Short locs need smaller sections, because the shorter hair slips out of your fingers more easily. Long locs are heavier, so support the weight with your free hand while you twist.
Very long locs can tire your arms, so take frequent breaks and stretch between sections. Thin locs need a lighter touch, since they can break if you twist them too firmly.
Thick locs may need a little extra product, because the new growth is bulkier at the root. Notice how your own locs behave, and adjust your pressure, product, and speed to match.
No two heads of locs are exactly alike, so your best method is always personal. With practice, you will develop a rhythm that works beautifully for your length and texture.
Medium length locs usually feel the easiest, because they are light enough to hold and long enough to grip. Take photos of your results at each length, so you can learn what works best.
Caring for Your Locs After Retwisting
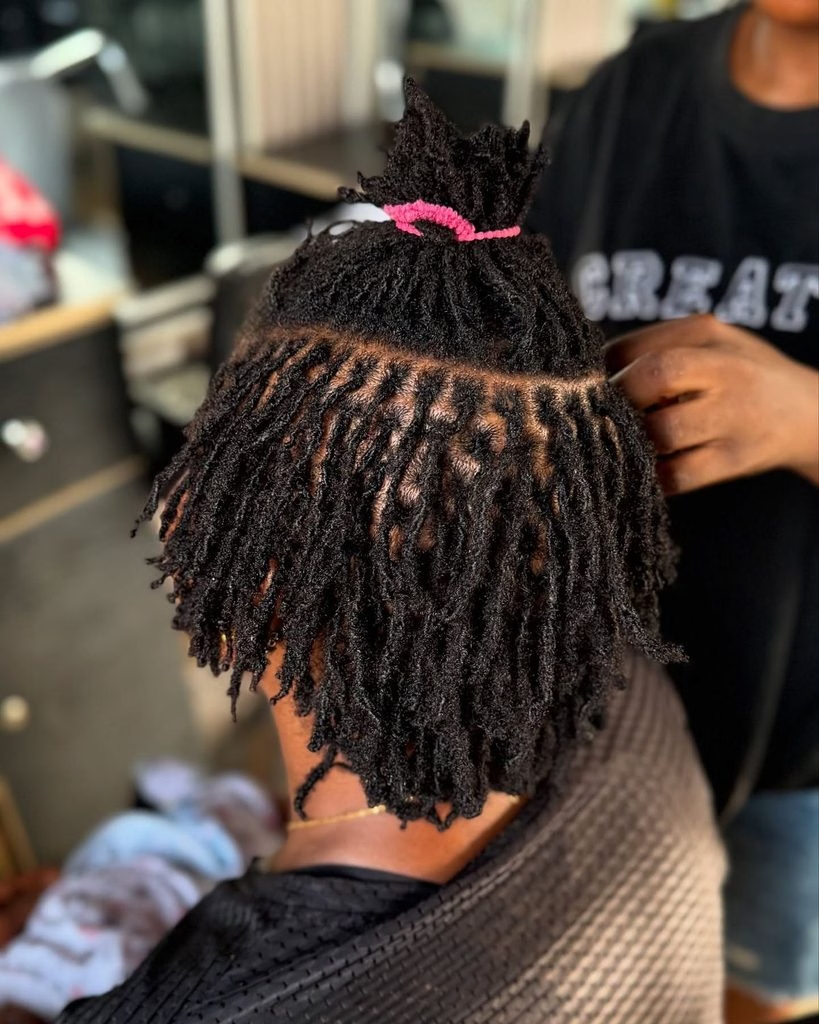
After retwisting, keep your scalp clean and moisturized with a light spray of water and oil. Avoid touching or twirling your locs too much, since constant handling can cause frizz and loosening.
Wait a few days before heavy styling, so your twists have time to settle properly. Planning a big event, like those in bridal loc hairstyles for black women, is easier with fresh roots.
Wash your locs every one to two weeks, to keep your scalp healthy and free of buildup. Always sleep with a satin bonnet, because it protects your roots and keeps your twists neat.
Drink plenty of water and eat well, since healthy hair begins with a healthy body. Trim split ends when needed, and avoid harsh chemicals or heavy products that can weaken your locs.
Notice how your scalp feels between retwists, and adjust your care routine whenever it changes. Good aftercare protects the time and effort you just spent, and it keeps your locs healthy.
Pay attention to any itching, since it can mean buildup, dryness, or a product that does not suit you. Gentle scalp massages every few days improve comfort and help your roots feel relaxed and refreshed.
Healthy habits after each retwist make your results last longer and look better each time.
Knowing When to See a Professional
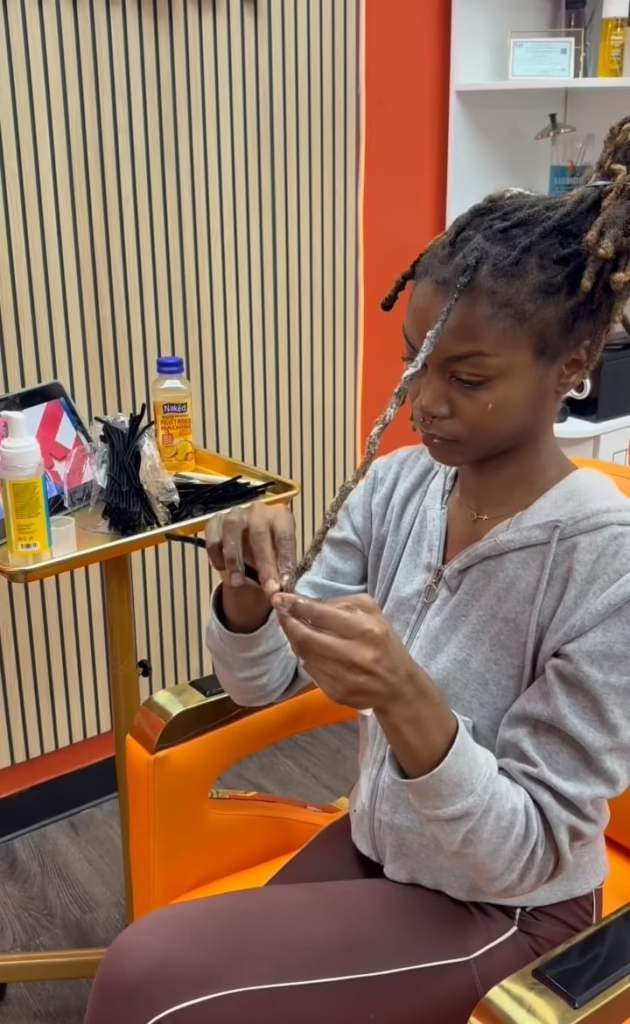
Retwisting at home works well for most people, but sometimes a trained loc stylist is the better choice. See a professional if you notice thinning, bald spots, or persistent pain around your roots.
A stylist can also fix large gaps, merge thin locs, and repair damage from earlier mistakes. Visiting a pro every few months can also keep your overall shape neat and balanced.
There is no shame in asking for help, since even expert stylists sometimes see their own colleagues. Treat home retwisting as a skill you grow, and enjoy the money and time it saves.
Each session builds confidence, and soon retwisting will feel like a calm, rewarding weekend routine. Be kind to yourself, keep practicing, and let your healthy, neat locs prove your progress.
Your hands, your patience, and your locs are all you need to begin this very day. Your next retwist will feel easier than this one, and your locs will thank you for the care.
Share this guide with a friend who wants to retwist her own locs at home. Whenever you feel unsure, come back to these steps and take them one at a time.